So you’ve got a fancy sweater in the closet that’s been damaged by years of beloved use. Or cats. Probably cats. Do you need to go out and buy a brand new one just to look nice again?
Not just yet. Though sweaters can start pilling rather quickly, especially if laundered improperly, fixing them is actually quite simple, and although specialized sweater shavers are fairly easy to find, you don’t even need any specialized tools to remove the pills in a ragged old sweater. You probably have something perfectly suitable just lying around the house already.
So go get an old wool sweater you’d like to make brand new again and we’ll get started. Here’s a merino wool t-shirt, with some of the worst pilling of anything I’ve ever seen:
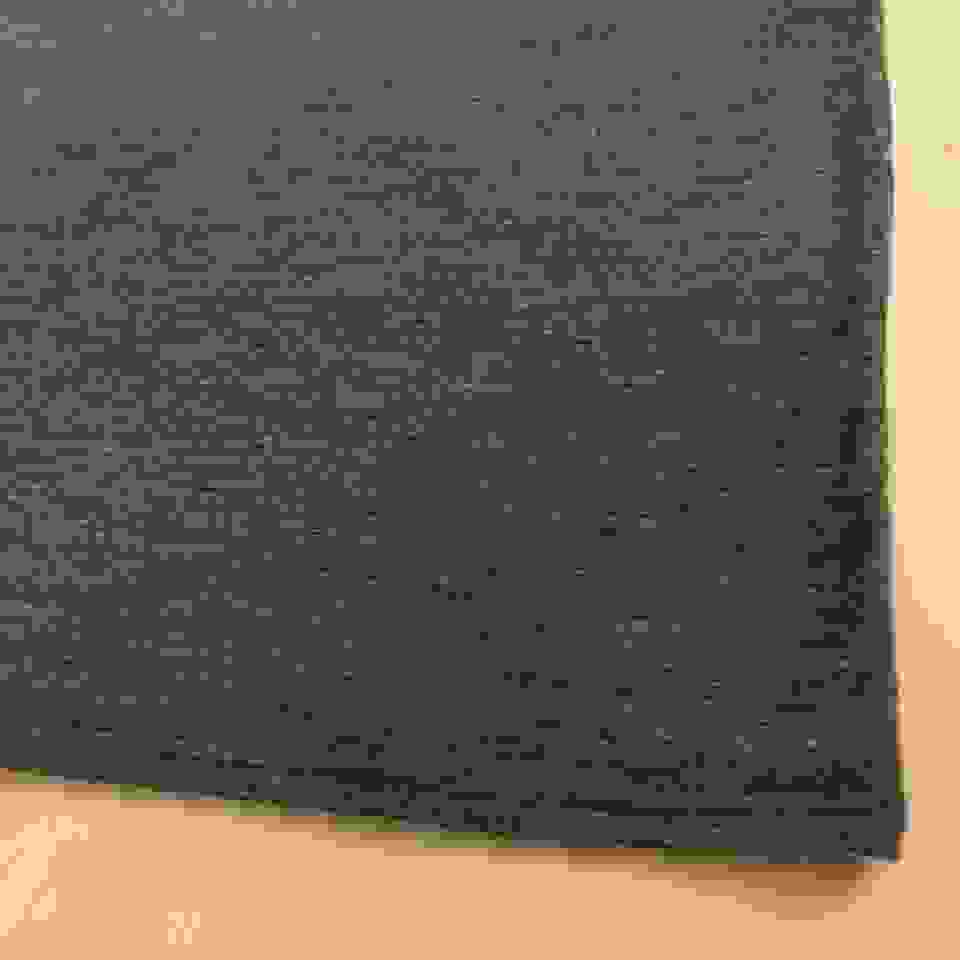
Here’s a close-up:

Such a travesty. But we’re going to fix it up just like new.
Do I need a fancy sweater shaver?
Nope. Just go get one of these:
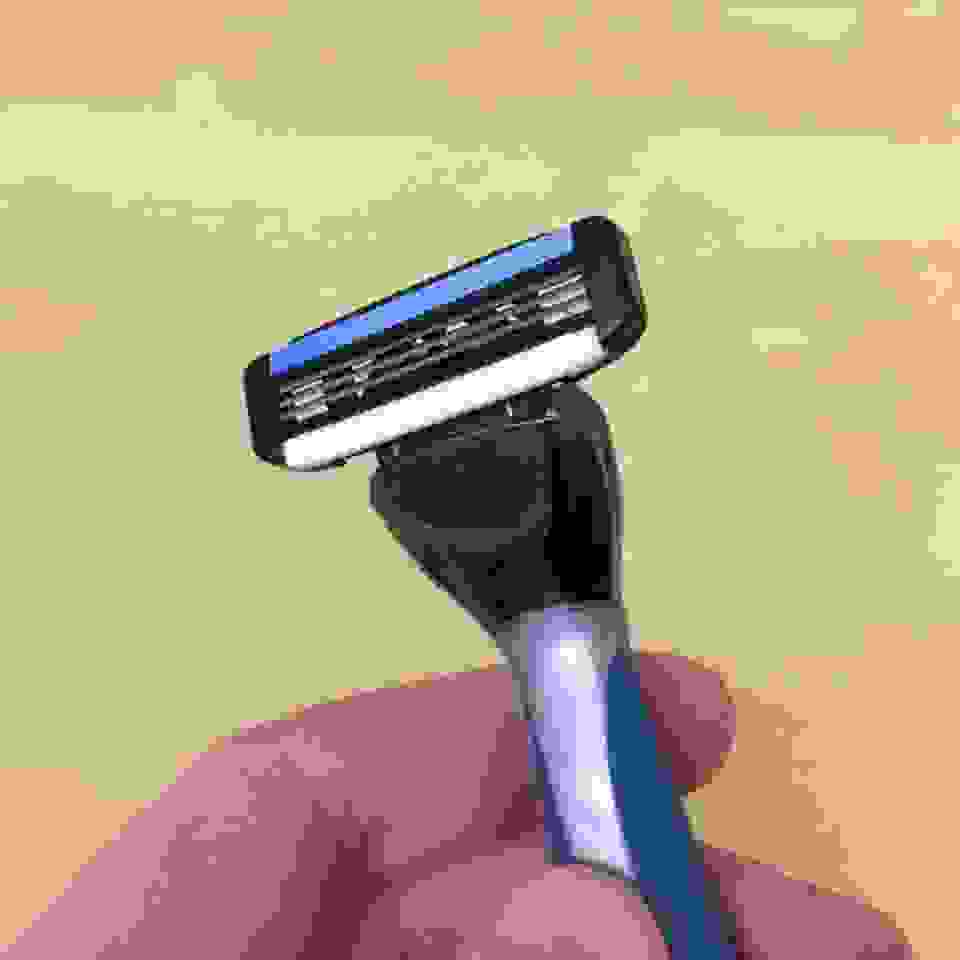
Yes, just an ordinary razor will do the trick. And in this case it’s actually better to use a disposable cartridge razor than anything fancy, like a double-edged safety razor, since the angle will properly adjust itself without you have to do anything. Electric razors are worth a try as well.
How to remove sweater pilling
Find a spot where you’re going to start, and stretch it out tightly with your fingers.

Keep it stretched out. You don’t want it bunching up.
Next, just start shaving. Short, quick strokes seem to work nicely. In just a moment or two, it’ll start looking like this:

Here’s a close-up of the before and after:

In just a few minutes your raggedy old wool sweater will start to look brand new again. You’ll also build up a huge wad of excess fluff, like this:
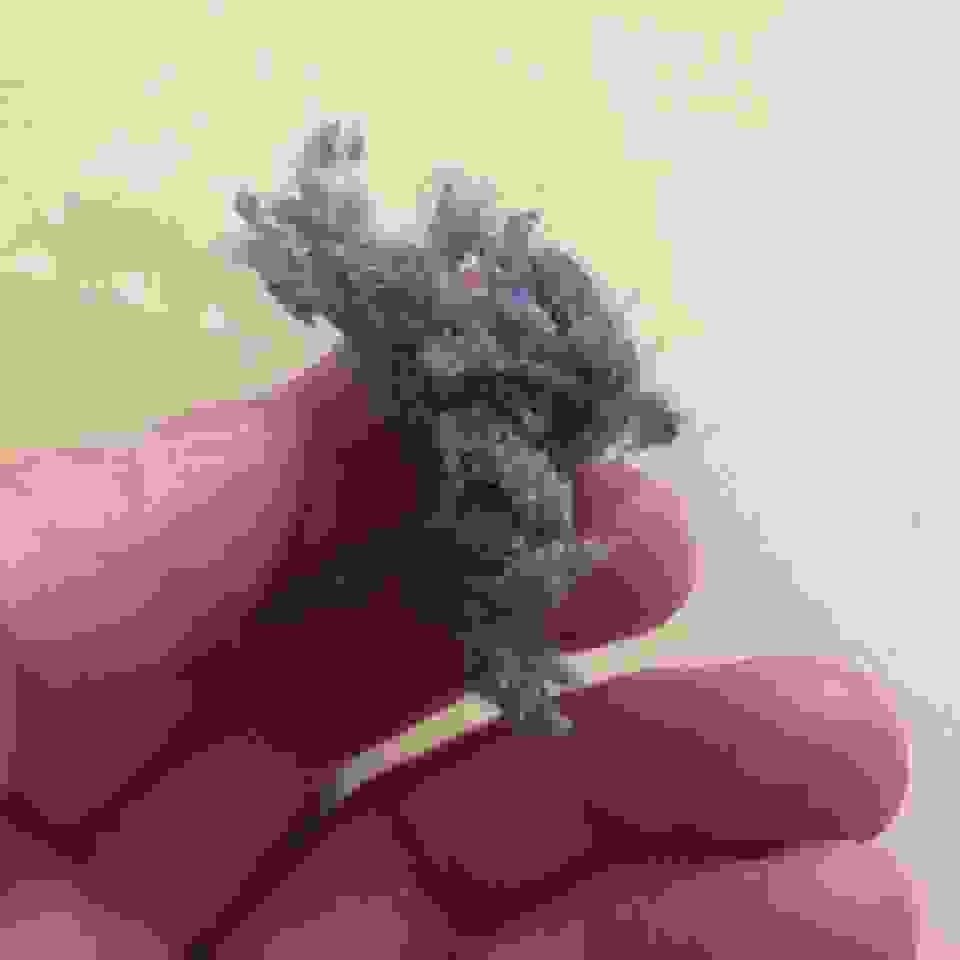
And that’s it! Just give it a quick shave, and you’re all done. Just keep the sections you’re working on tightly stretched out, and take your time. However:
Won’t this damage the sweater?
Yeah, probably. You’re removing bits of fabric, so it can’t be flawless. However, if you were going to throw the sweater out anyway, you could argue that removing the pills in this way might actually extend the lifespan of the sweater, by allowing you to get several more years of life out of it.
You’ll really want to look out for the seams, though:
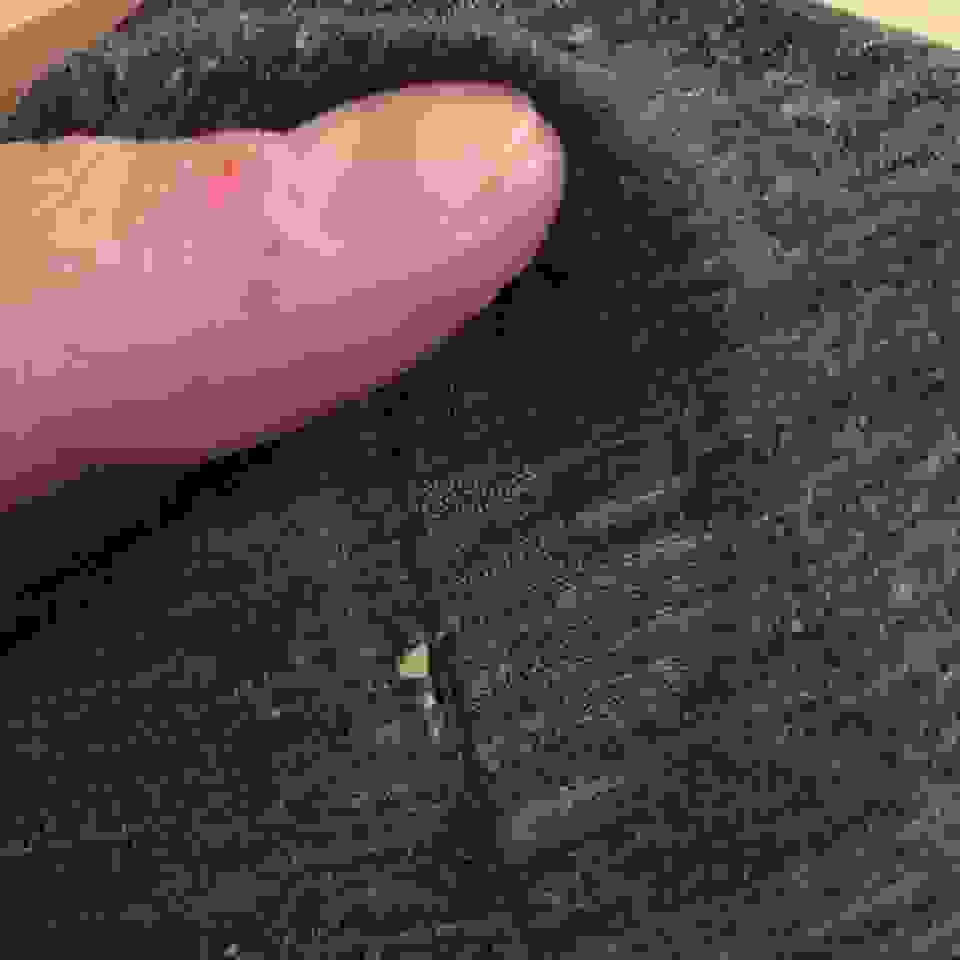
Since the seams stick out a bit more, cuts like this are much more likely to happen on the seams than anywhere else. Make sure to take your time around them, and maybe don’t even bother removing the pills right on top of the seam itself. There’s always going to be some pilling, and you’ll probably be happier with a little on-seam pilling than with an open wound.
How do I prevent pilling in the future?
Follow the fabric care instructions on the sweater. This usually means dry cleaning, or using the cold cycle on a washing machine and laying it flat to dry. If you’re using a laundry machine, wash it inside out, and maybe even use a delicate mesh garment bag. That’ll keep the outside looking a little nicer.
And keep it away from cats. I always try to have some cat-proof items on hand for just such an occasion. I’ve found that fuzzy fleece and ordinary sweatshirts (especially the ones with a fleecy inside) tend to work amazingly well in resisting any cat-related fabric disasters. Save the cashmere for when you’re going out for the evening, and break out the ol’ college sweatshirt for lounging around at home.




I usually wash by hand on travel, so the pilling is only a problem for home wash. Like you, I’ve learned to wash my garments inside out.
I’ve gone over to garment bags for my delicates. The bags are cheap and easily available. I have found that the garment takes significantly longer to dry in the dryer when it is in the garment bag. Then again, you probably should let the garment air dry.
You could bring a garment bag as a stuff sack or dirty bag when traveling. It depends on how often you machine wash on travel.
You should also throw merino in the wash with a pair of jeans, as it should remove the pilling over time. Just make sure the pants are zipped up and inside out so as not to scratch anything.