So I’ve been waiting on this one for a long time. This pack is about a year old at this point, and because it raised a small nation’s GDP on Kickstarter, you’ve probably seen a few of them in person by now, whether you knew it or not. It’s the Peak Design Everyday Backpack, which a lot of people out there have called the best backpack ever made.
This pack was built mainly for photographers, who not only need a lot of padded, weather-resistant protection to keep their camera equipment safe, but also need quick access to the inside of the pack, to swap out lenses, grab a tripod, find a spare battery, and all sorts of other things.
The result is a pack with pretty unprecedented access, especially for something that’s still just a relatively small daypack, along with a lot of extremely versatile expansion options, too. There’s very little in here that wasn’t a complete redesign of what you’d usually find in a backpack, and the combination of so many unique features makes it truly one of a kind.
So, is it the best backpack ever, for everyone?! Let’s find out.
Peak Design Everyday Backpack Review
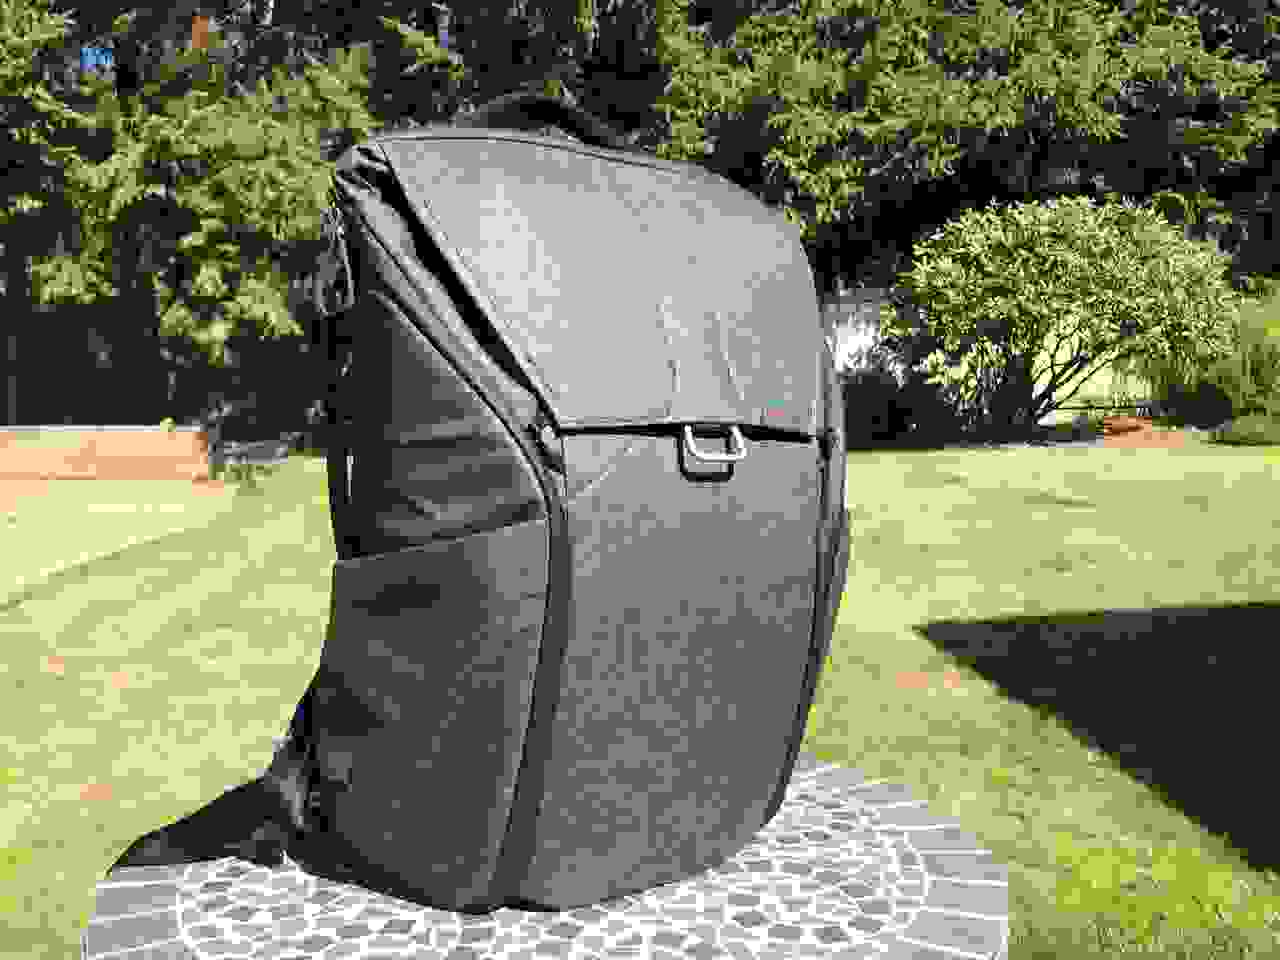
Here it is, in all of its grey-is-the-best-color glory:
What are the specs?
These are the numbers for the 30 liter backpack, which is the one pictured here, although they’ve got a 20 liter version as well.
- Height: 20″
- Width: 13″
- Depth: 8″
- Capacity: 18 liters (not extended), 30 liters (fully extended)
- Weight: 4 lbs, 7.5 oz (including all removable accessories), AKA 2.02 kg
- Price: $290
A couple things worth mentioning here; you’ll notice the weight, and price, both of which are rather high. The weight on Peak Design’s website is the “naked weight,” which they list as 3 lbs, 6 oz, which is what you’d get if you were to remove all optional accessories, which you’ll see below. Still, it’s not a light pack, and it’s not cheap. Part of the weight, especially for a pack this small, is due to the rigid structure; there’s cushioning in literally every wall of this pack, as you might expect from a camera backpack. That’s a lot of weight to carry around, but the weight itself isn’t such a problem if you’re using the weight. The more you’re planning on carrying around fragile objects, the more sense it makes to pack the walls with cushioning to protect them.
The pack is also made of a highly weather-resistant, yet rugged fabric, with a surface treatment that makes it feel slick, and nicely protected. The zippers are all water-resistant, so protection from the elements (and drops onto a concrete floor) are definitely a major design goal here.
How are the straps?
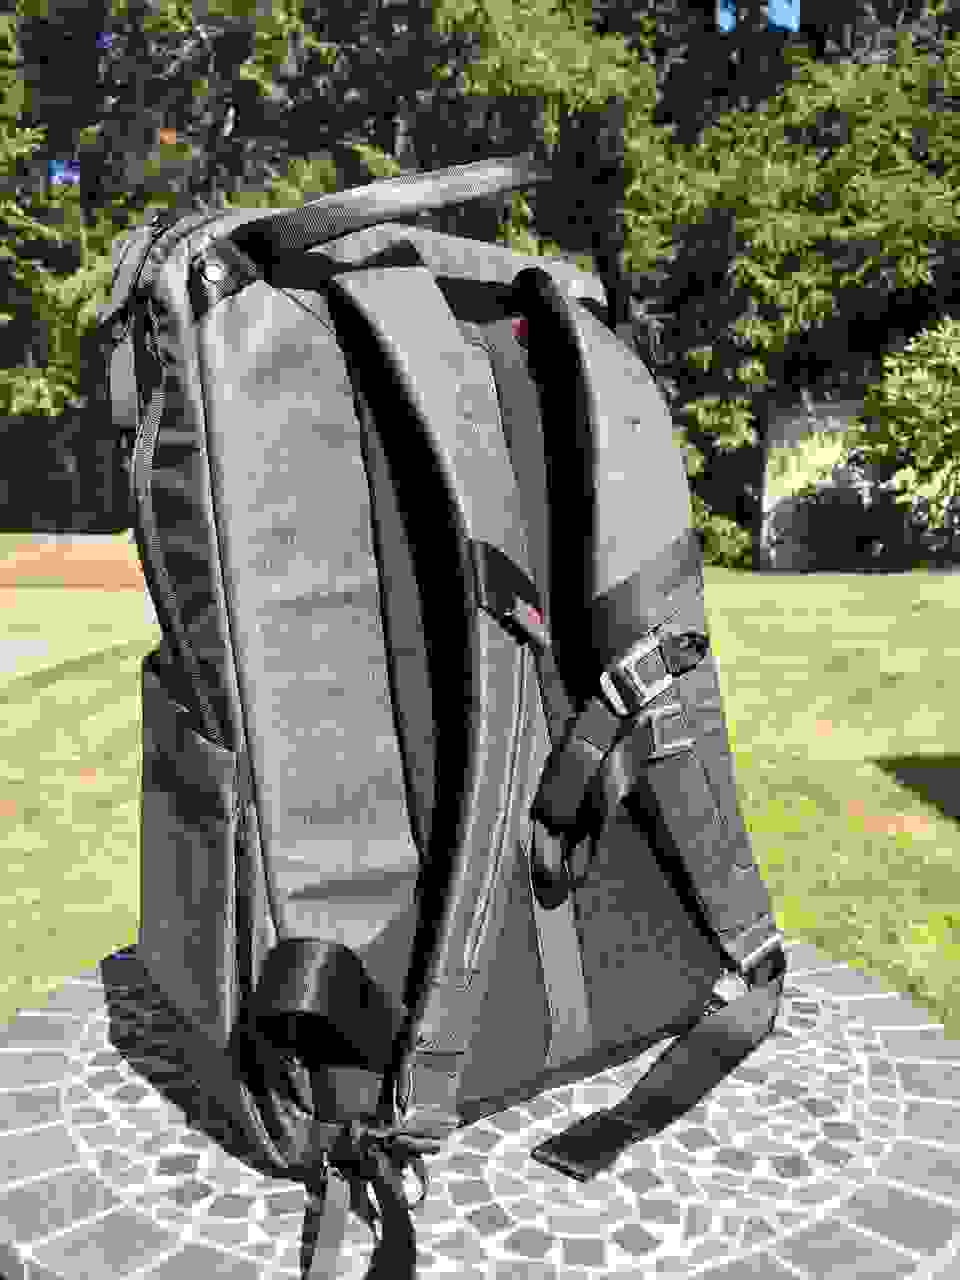
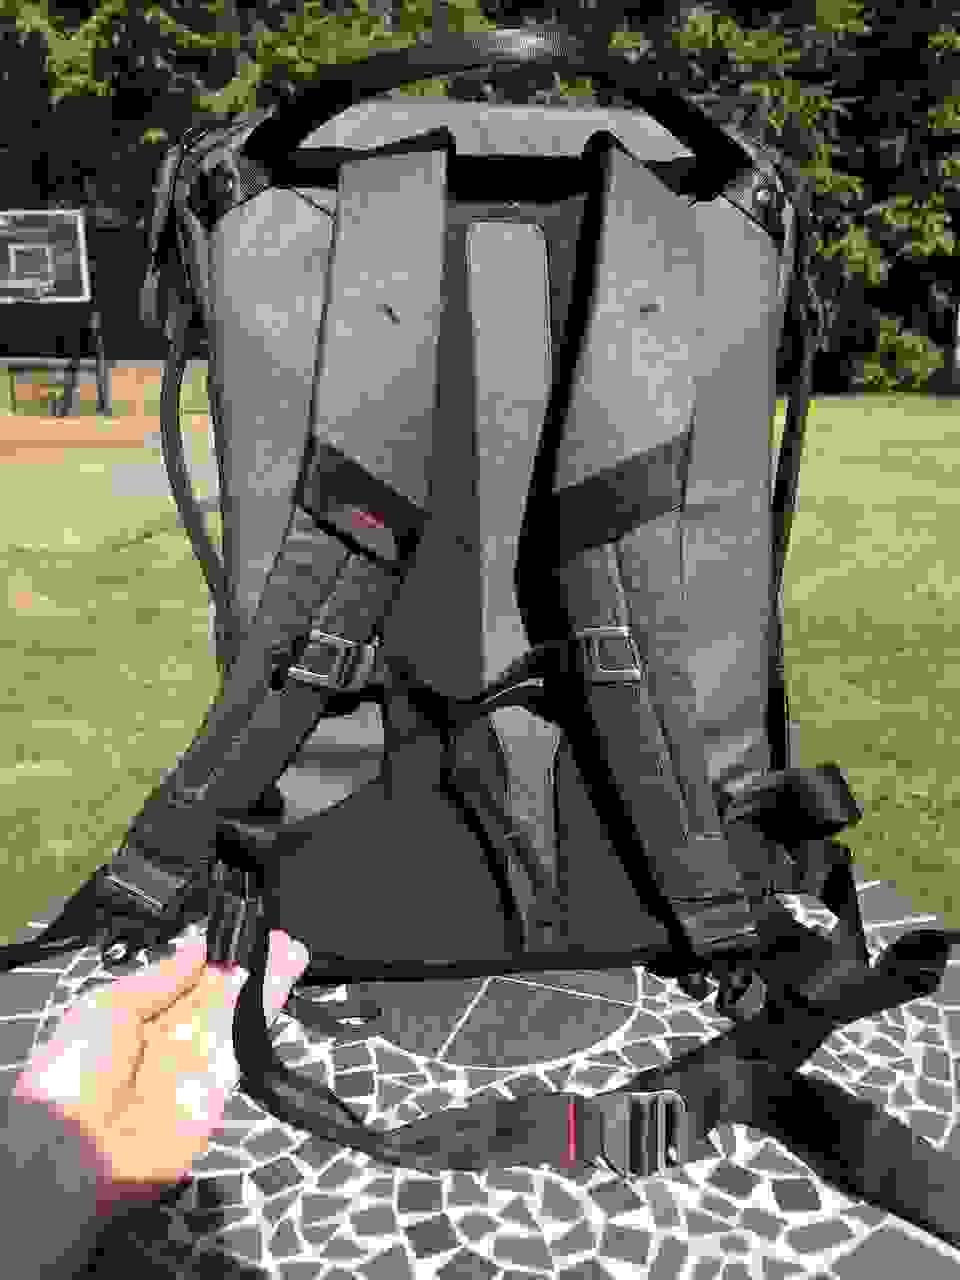
Here you can see the shoulder straps, along with the padded back panel, which has an uneven surface to create more airflow along your back, along with that oversized, super-easy-to-grab top handle.
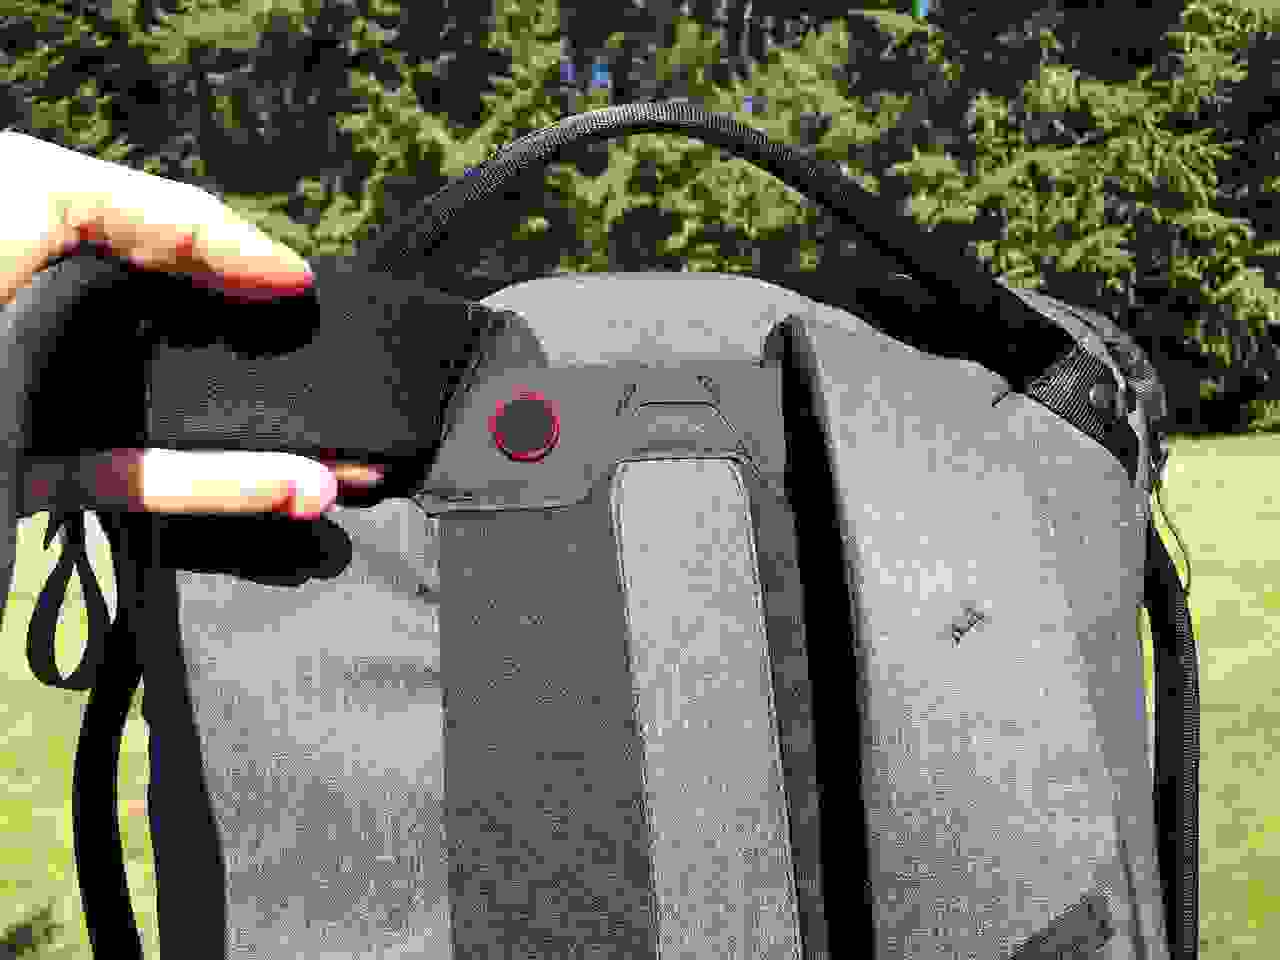
And this brings me to one of my favorite features of this pack, which is how the shoulder straps aren’t really sewn in. They’re bolted into the pack with this little rotating disc, meaning they can rotate to accommodate any angle of shoulder slope:
This is an incredibly big deal if you’ve got sloping shoulders and can only find packs made for bigger people with horizontal shoulders; I’ve talked about this before, but the problem with fixed-angle shoulder straps (especially stiff ones) is that they will inevitably create a horrible pressure point that will become ever more insufferable as the day goes on. But since the shoulder straps on this one can rotate, they can fit anyone, without the need for any manual angle adjustment. It’s definitely one of the major strengths of the design.
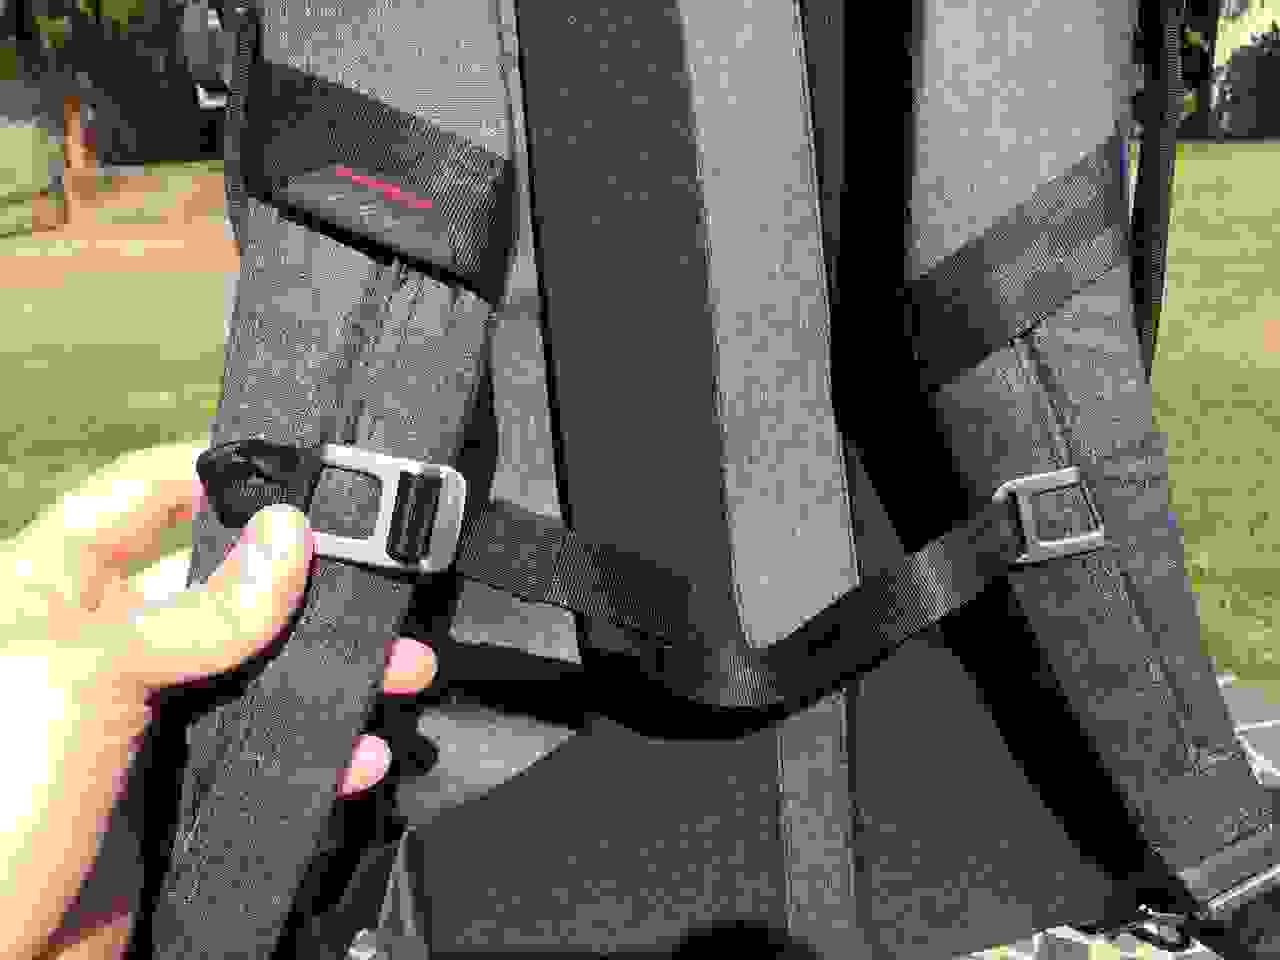
Along the shoulder strap there’s a sternum strap, made with aluminum instead of plastic buckles, to ensure greater durability.
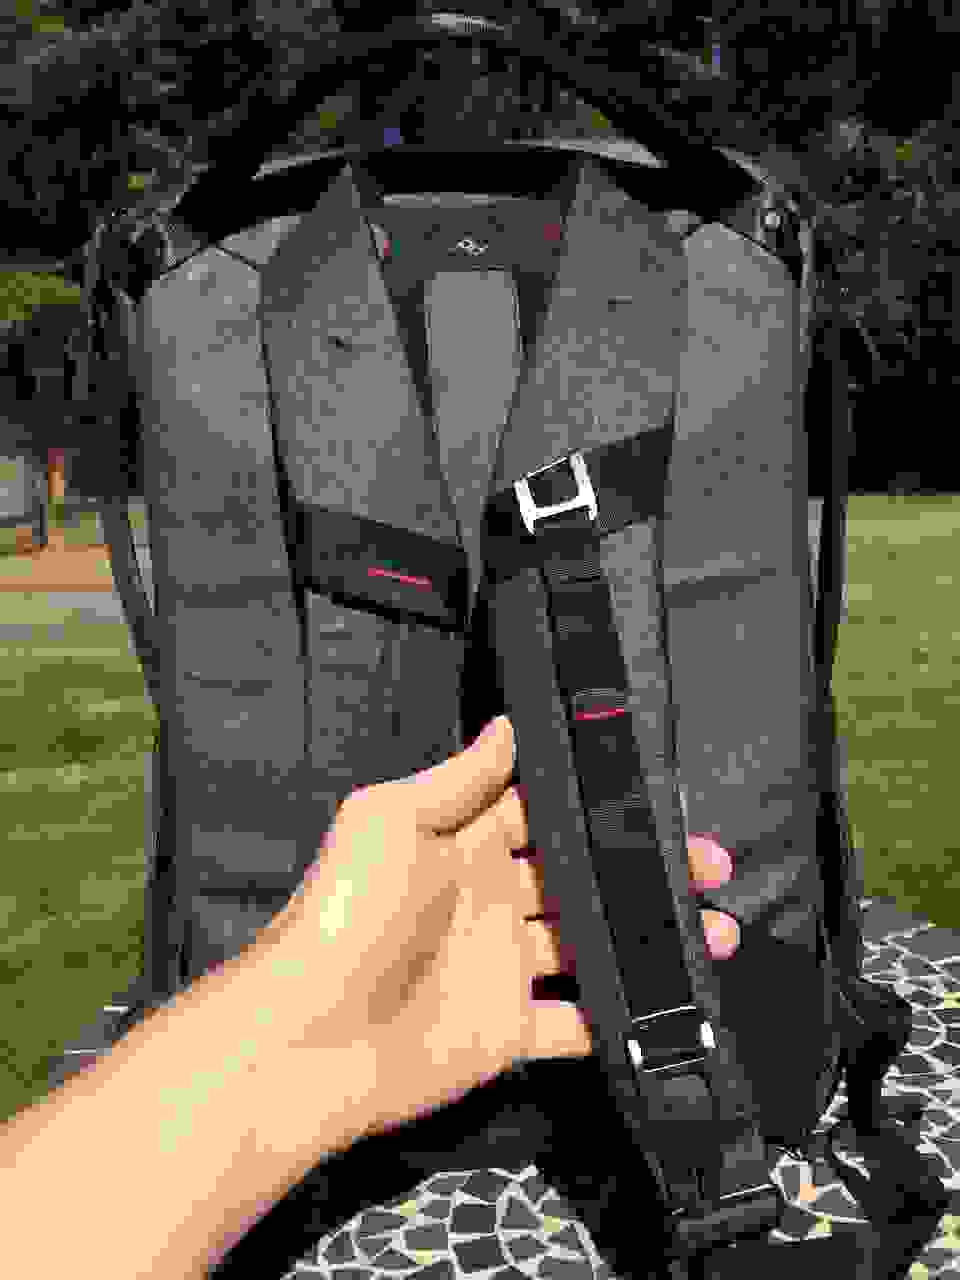
They don’t slide up and down, but rather slip into pre-formed slots along the shoulder strap. This means you can stow the sternum strap by hooking both clips into the same side (pictured a couple photos above), so it won’t flop around.
You can also use what they call the “long-term” storage method, clipping the sternum strap vertically on a single shoulder strap:
This’ll keep it out completely of the way, but it’ll be there if you change your mind.
Down below there’s a detachable waist strap, which stows away in the pockets along the side:
It’s not that easy to get the strap in and out of the pocket, but you probably won’t have to remove it and stow it multiple times in a single day; it’s also easy enough to hook it behind you, where you won’t need to worry about it until you need it.
While we’re over on this side, there’s also a luggage handle pass-through slot, behind the back panel cushioning:
Very handy for anyone traveling with luggage, although the 20 liter version would probably make a bit more sense as a personal item that you would carry in addition to a suitcase.
Where does the laptop go?
Up on the top you’ll find this zipper, which, like all the other zippers, is water resistant:
Inside you’ll find three compartments; from top to bottom in this photo are a shorter pocket (for cables, pens, headphones, and so on), a tablet sleeve, and a laptop sleeve:
That shorter pocket is actually quite handy, as you might often need to pull out not only a laptop, but also a charger, so it makes sense to have them both accessible from this top zipper. I liked putting headphones in there, too. The laptop sleeve will fit most 15″ laptops, whether you’ve got the 20 or 30 liter version.
How does that top flap work?
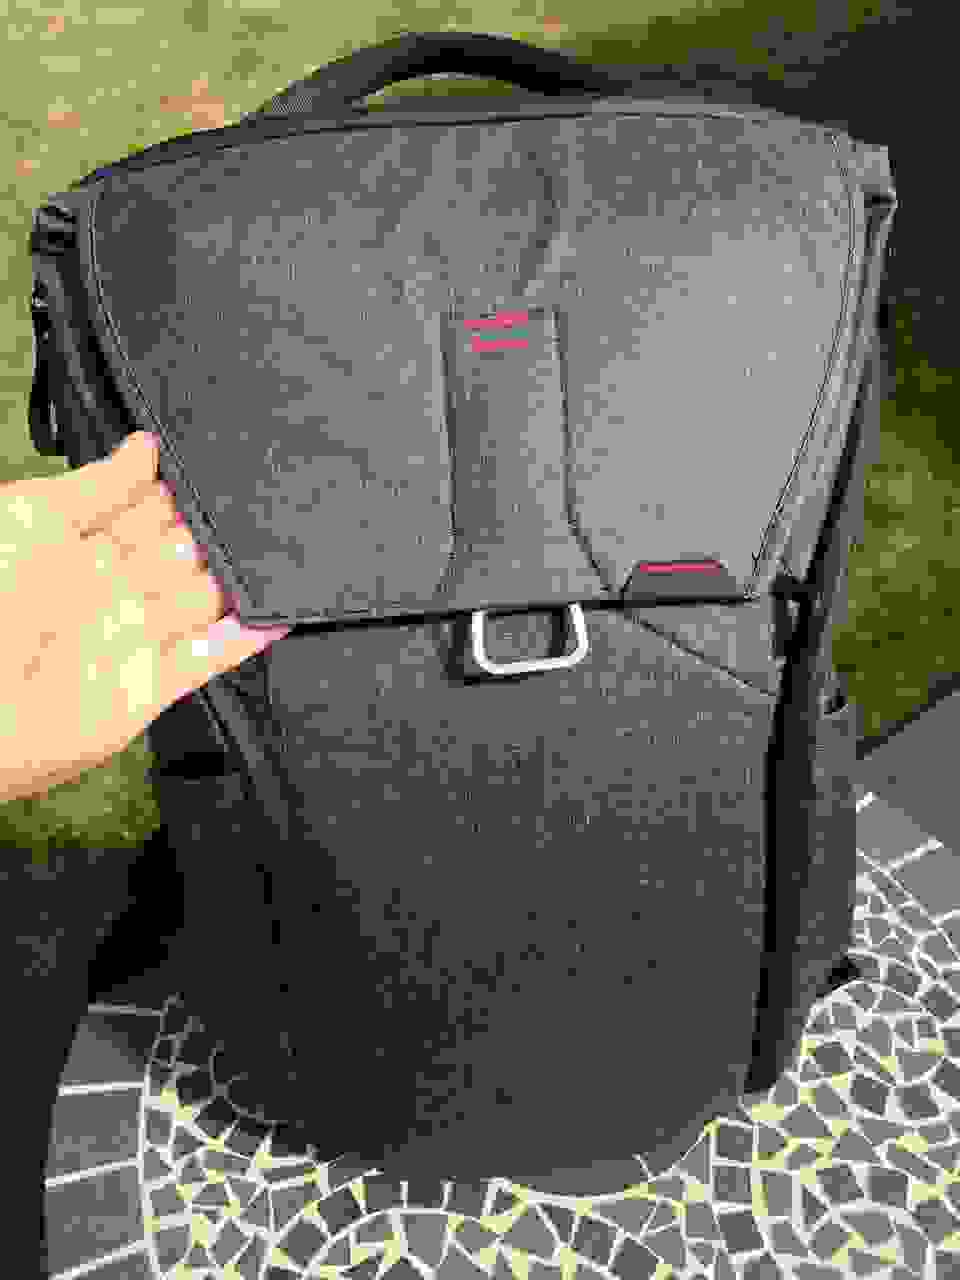
The upper access door is closed with something they call MagLatch, which is a magnetic and directional attachment clip that allows one-handed opening and closing. It’s pretty cool. I think it makes even more sense on their messenger bag, since a messenger bag is usually only on one side of your body, but there’s certainly nothing wrong with using it here, too:
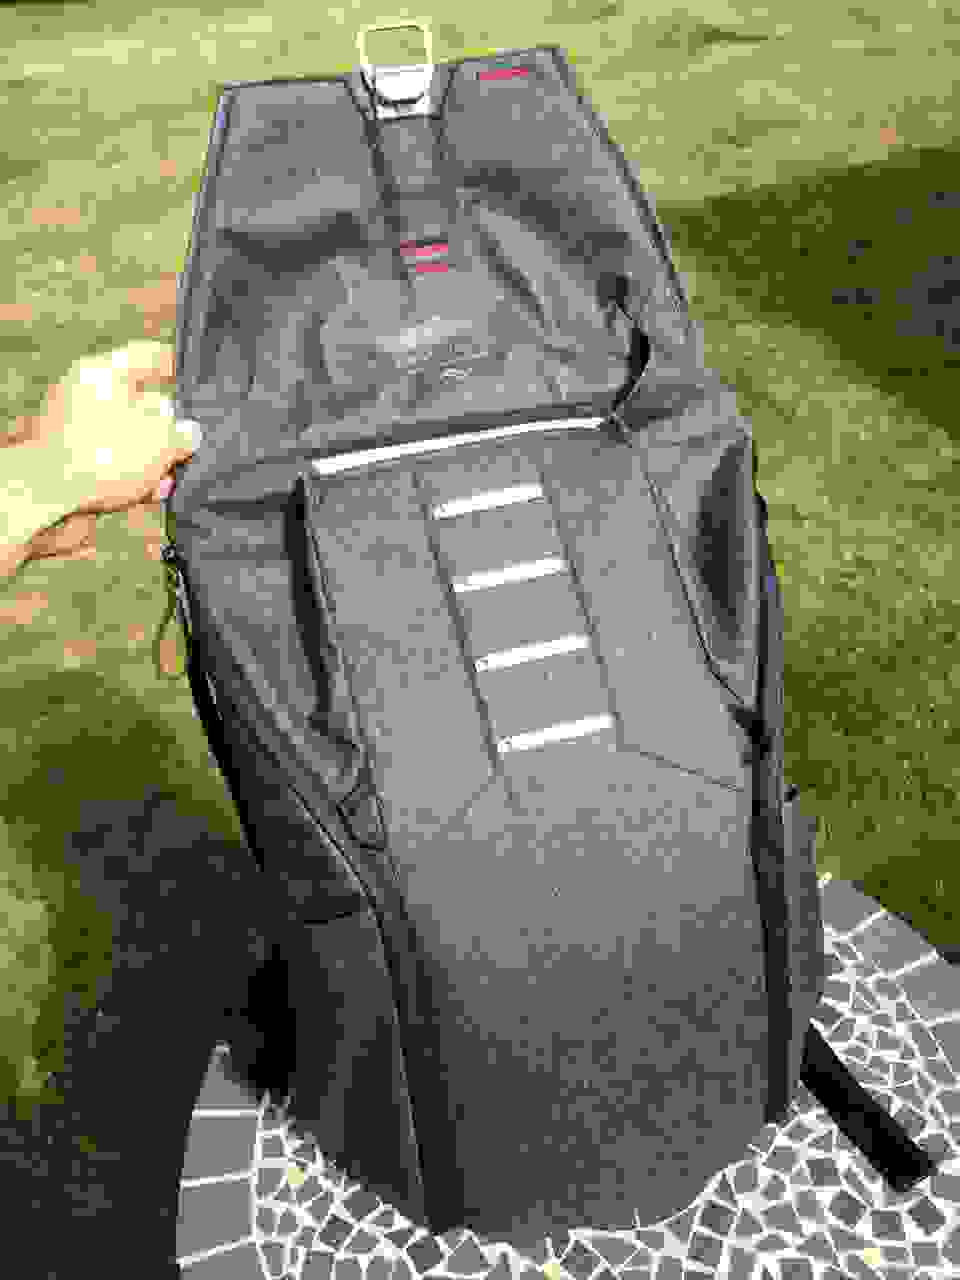
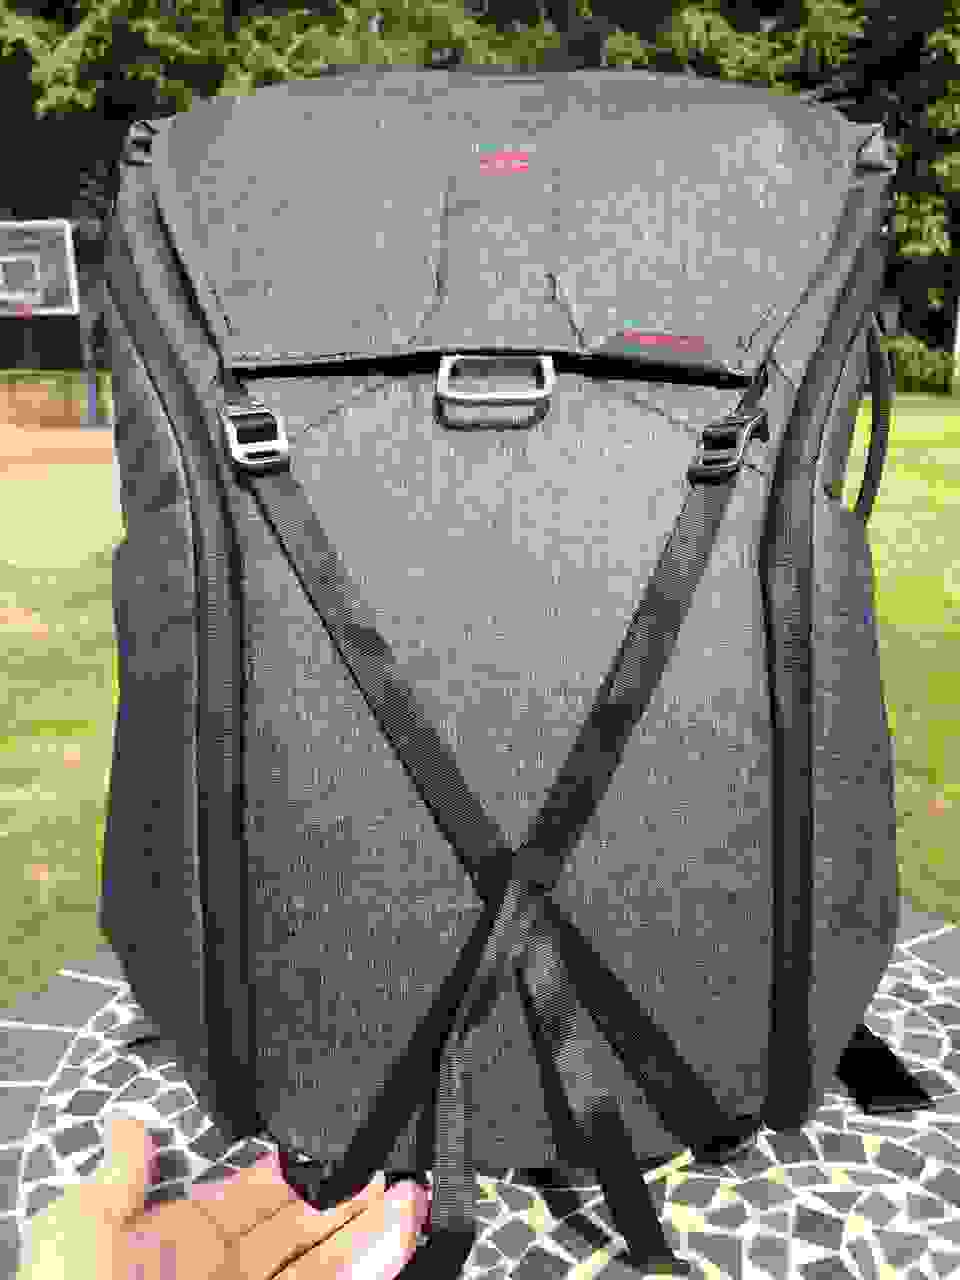
It also allows for this ladder-lock height expansion system; just shove as much as you can into the pack, and close it up on whatever horizontal bar it’ll fit into:
This allows for an additional 12 liters of storage, extending the pack vertically, which is the most ergonomic direction for pack expansion:
The stated 30 liter capacity feels just a bit generous, I would say; plenty of companies use different measuring systems to measure the capacity, and this feels like a bit of a tight 30 liters to me. I’m able to get just a bit more into a 25 liter pack I have, for example, though not by much.
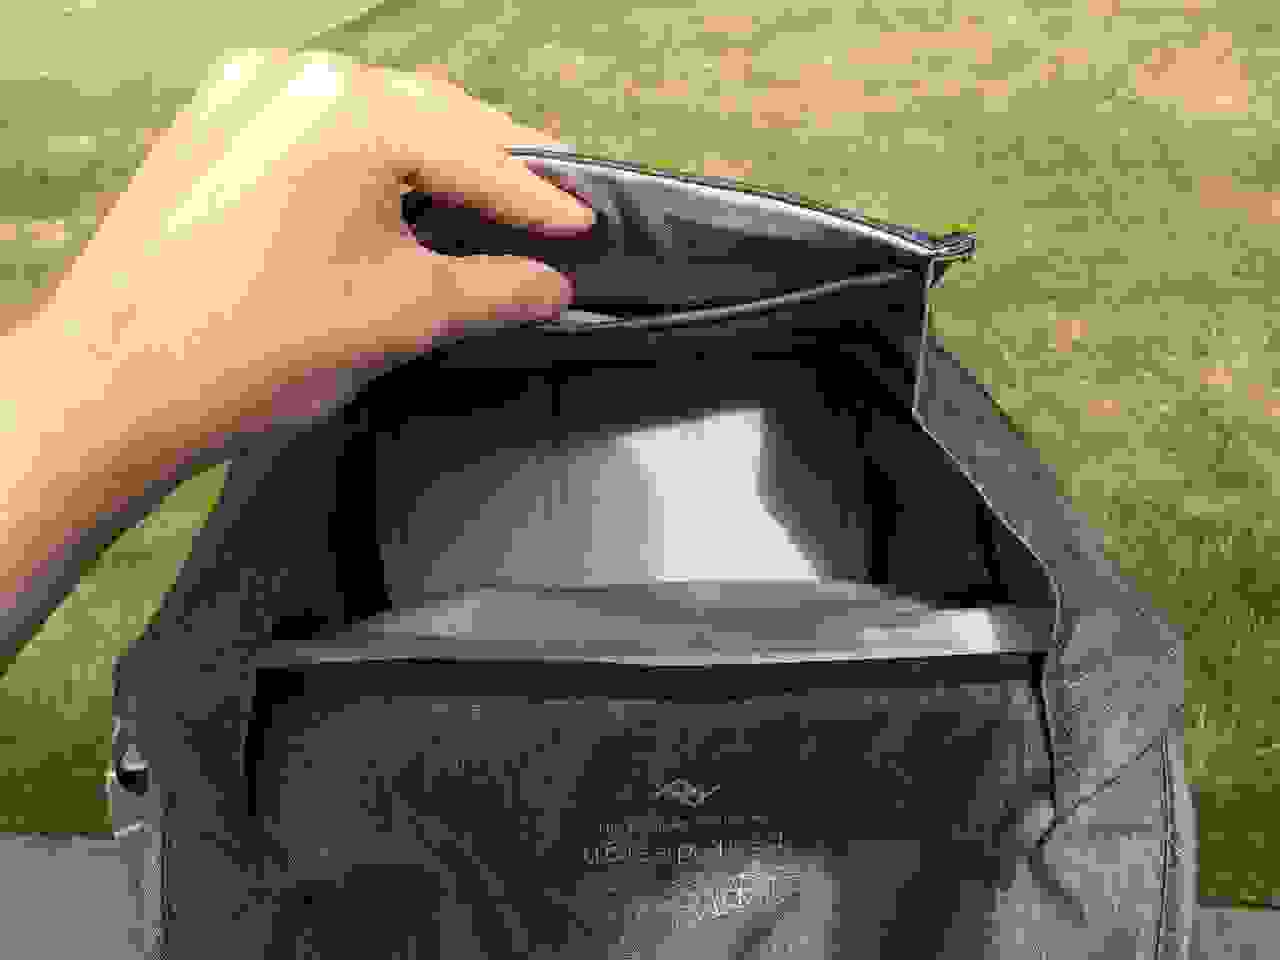
Here’s what it looks like on the inside, where there’s also a magnetically-closed, passport-sized pocket somewhat hidden away on the inner wall:
This pocket actually extends all the way to the base of the pack, but it can be divided with their included Flexfold dividers, which you’ll see more clearly in a moment. I like keeping this top portion sectioned off, though, and stuffing it with jackets and sweaters; items you need quickly, which should be easily accessible from the top, and which can also be compressed by pulling the ladder-lock MagLatch closure system down as far as you can reasonably go.
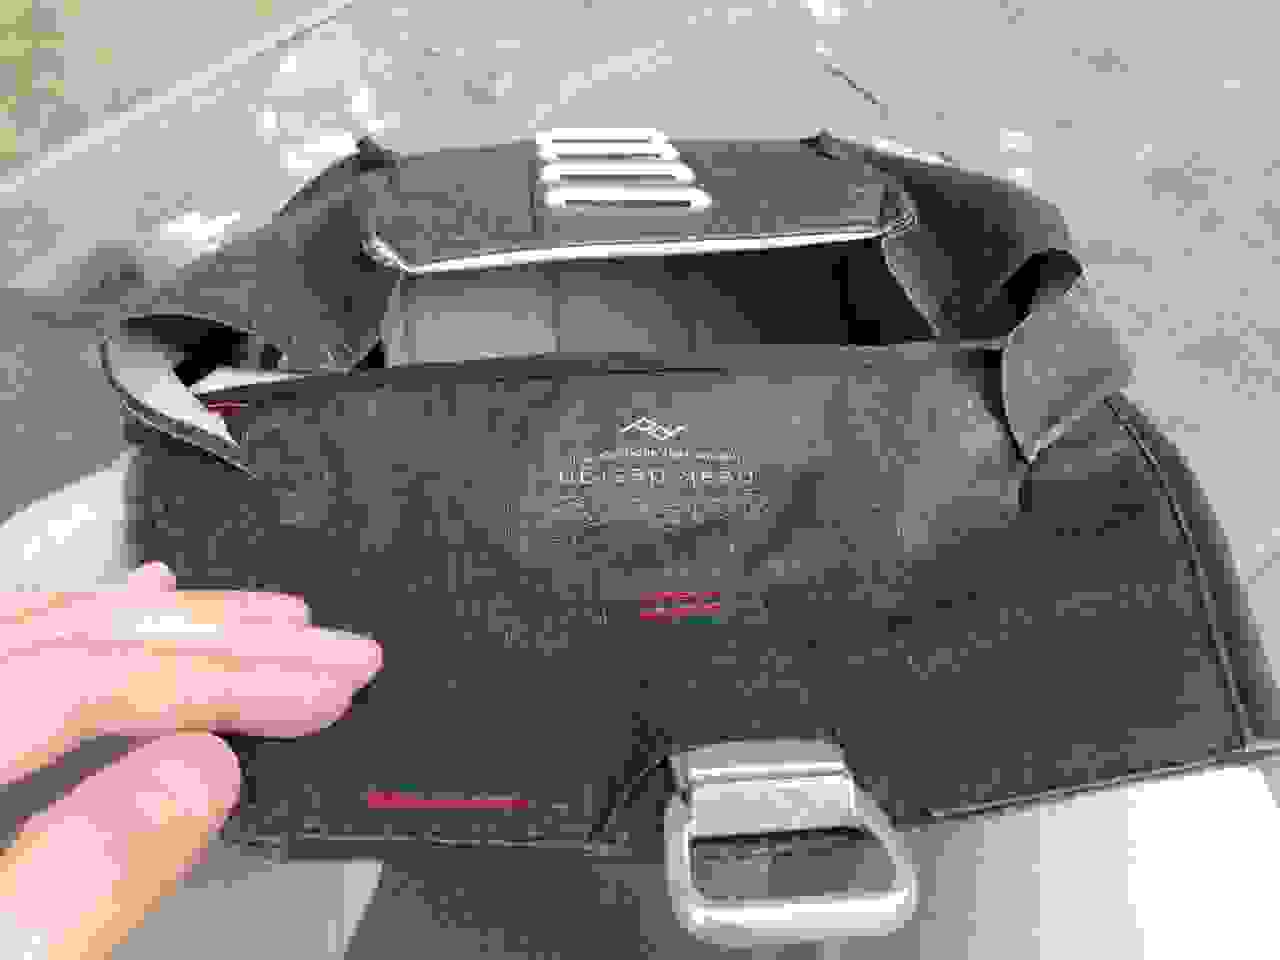
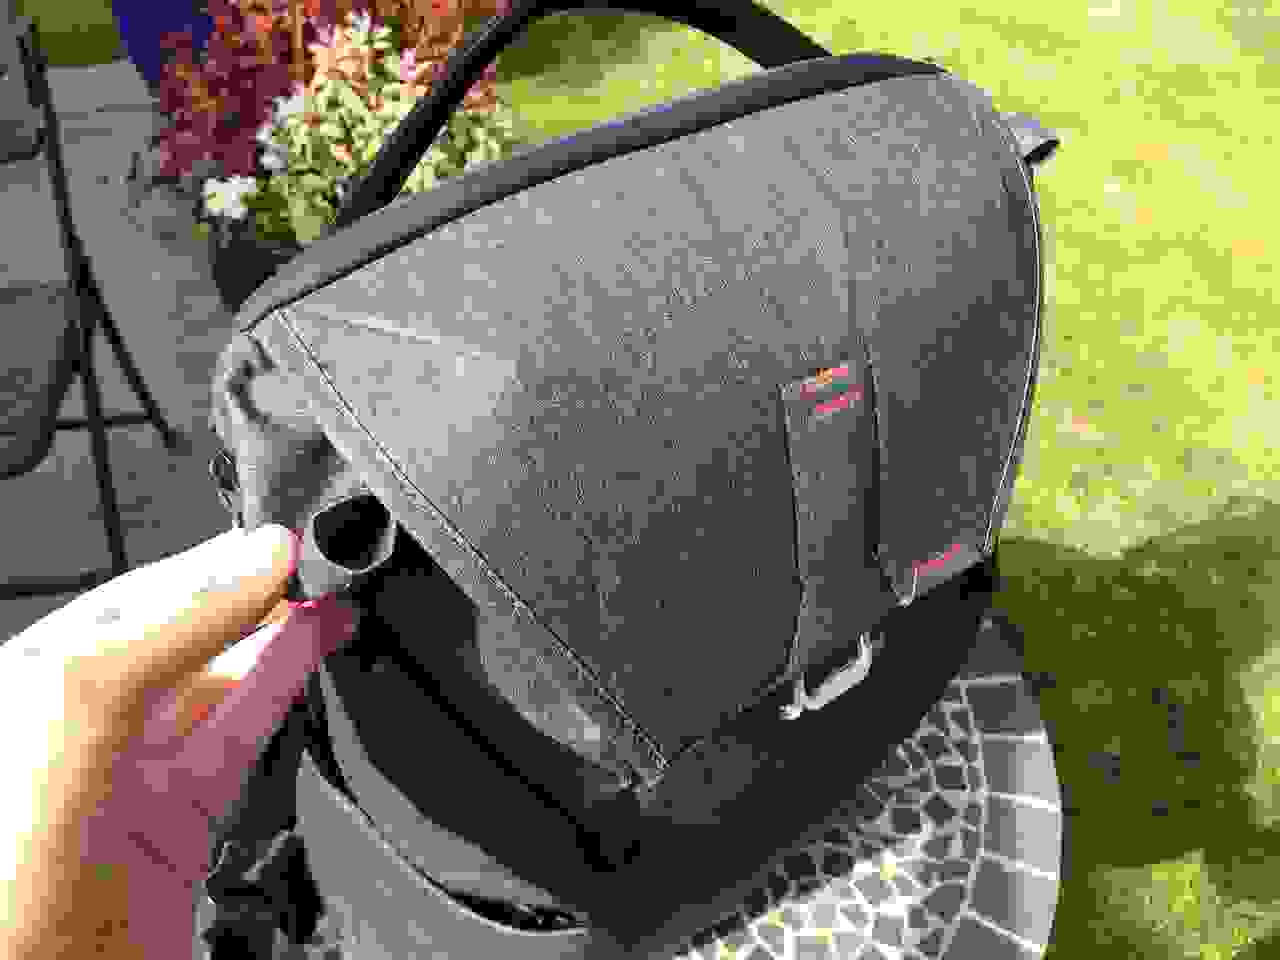
There is, however, one problem with this system; notice how the side flaps stick out, unless you manually shove them inward as you close the flap:
If you don’t bother shoving them inward, they’ll stick out on either side:
That’s a pretty big opening to let rain get into. Sometimes it’s closed tightly enough, but those side flaps could have had some light elastic across the top, and that would have snapped the opening shut enough that this wouldn’t happen. It’s an easy problem to manage if you remember to push those flaps inward each time, but it would be an easy fix for a 2.0 version, while retaining the same functionality as before.
What’s on the side?
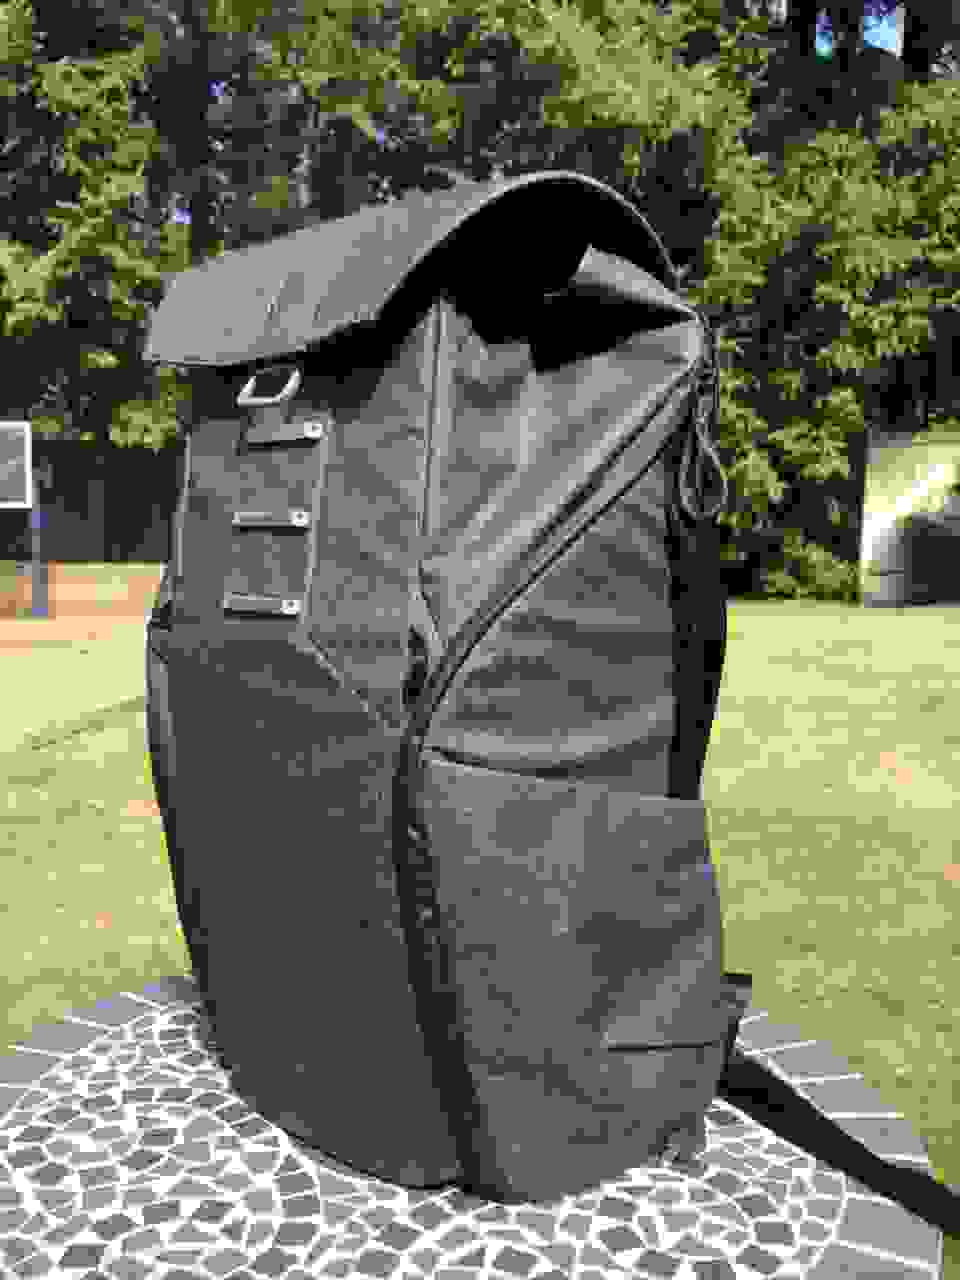
Both sides have the same features, which will please any fan of symmetry; a grab handle, and a side pocket:
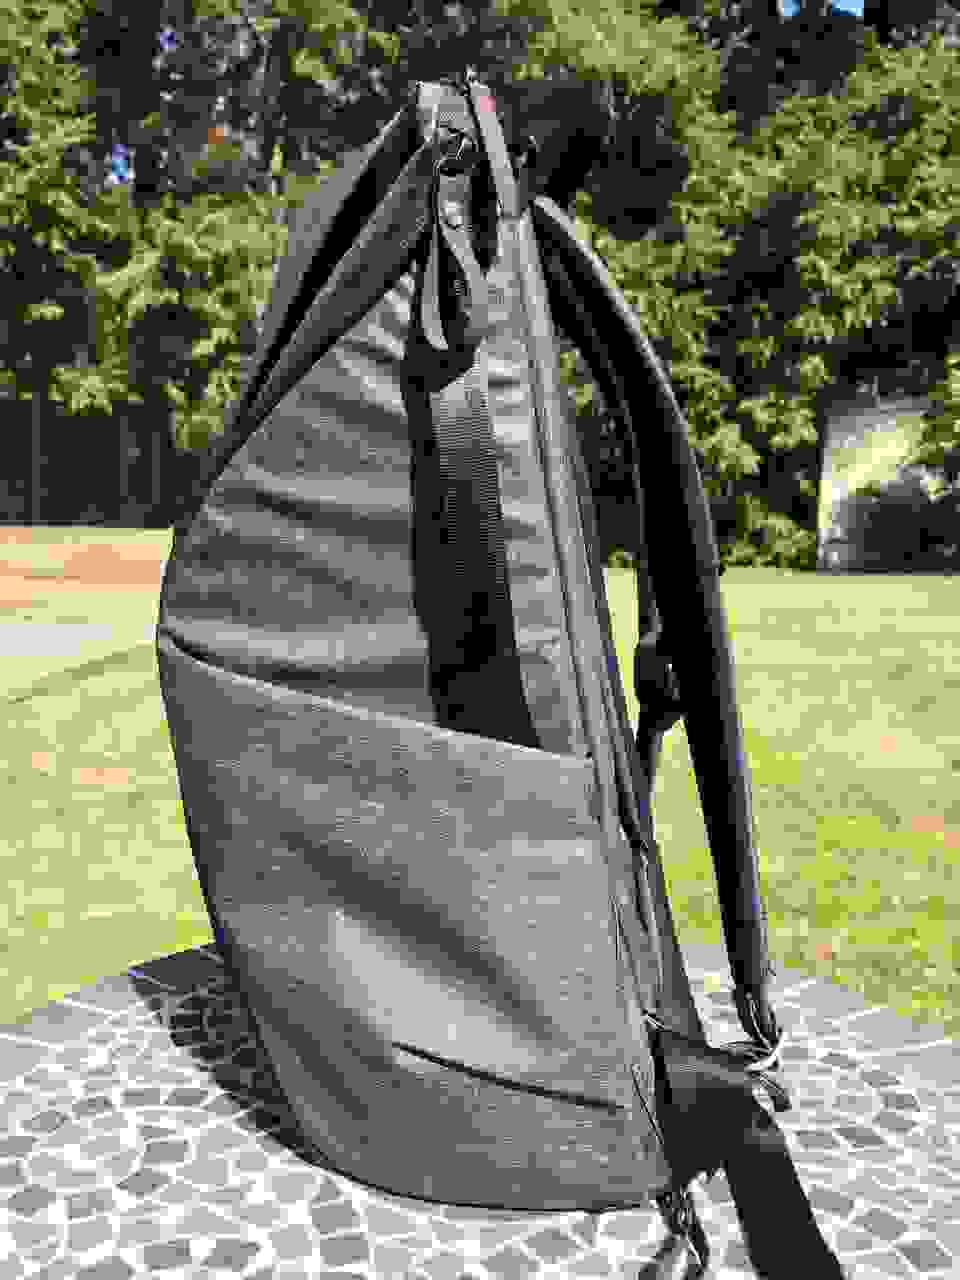
Despite how small this pack is (and its 20 liter little brother is even smaller), I use those grab handles all the damn time.
Another little extra is this adjustable strap, designed for tripods; you stick a tripod leg into the side pocket, then lash this strap over the top to keep it in place:
It’s removable, and there’s one on each side, and it’s just one of the several expansion features that make this pack versatile beyond its stated 30 liter capacity.
The side pockets, however, could be bigger.
Yes, there’s that expanding elastic band, and certain sizes of water bottle will fit in there just fine, but the big ones might have a bit more trouble, especially if the pack is full. Due to the structured walls, you won’t get too much deformity bulging outward if it’s overpacked, but it can still dig into the space that’s supposed to be the side pocket, cutting down on what you could shove in there. Half-liter or smaller bottles should be fine (especially the tall, skinny ones), although thicker, insulated ones probably won’t fit.
They do close with magnets, though, so that’s a nice touch.
What’s with those giant zippers along the side?
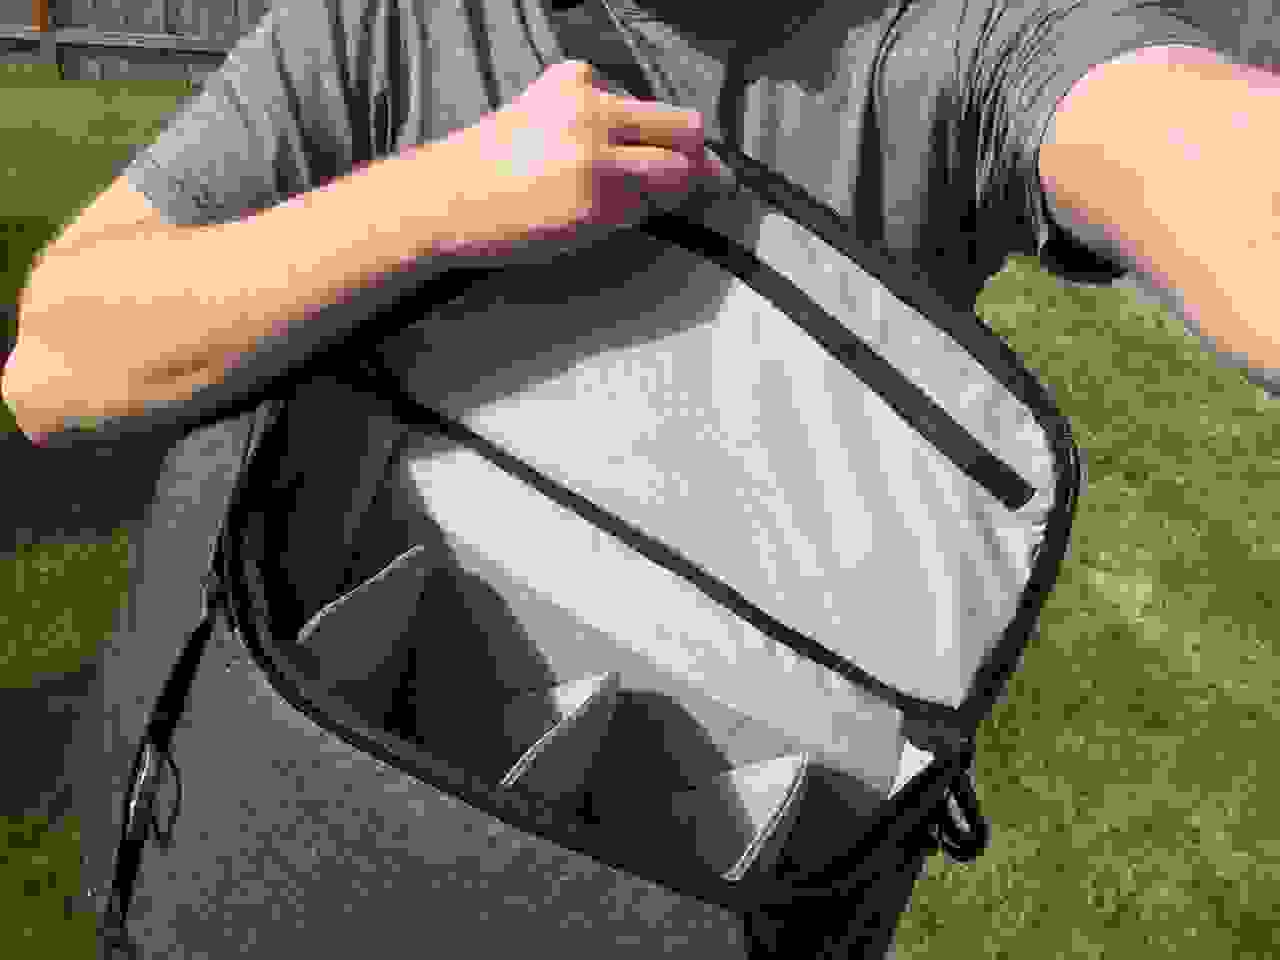
This is another star attraction of the pack; the side zippers open along the entire side, allowing for quick and easy access to everything inside:
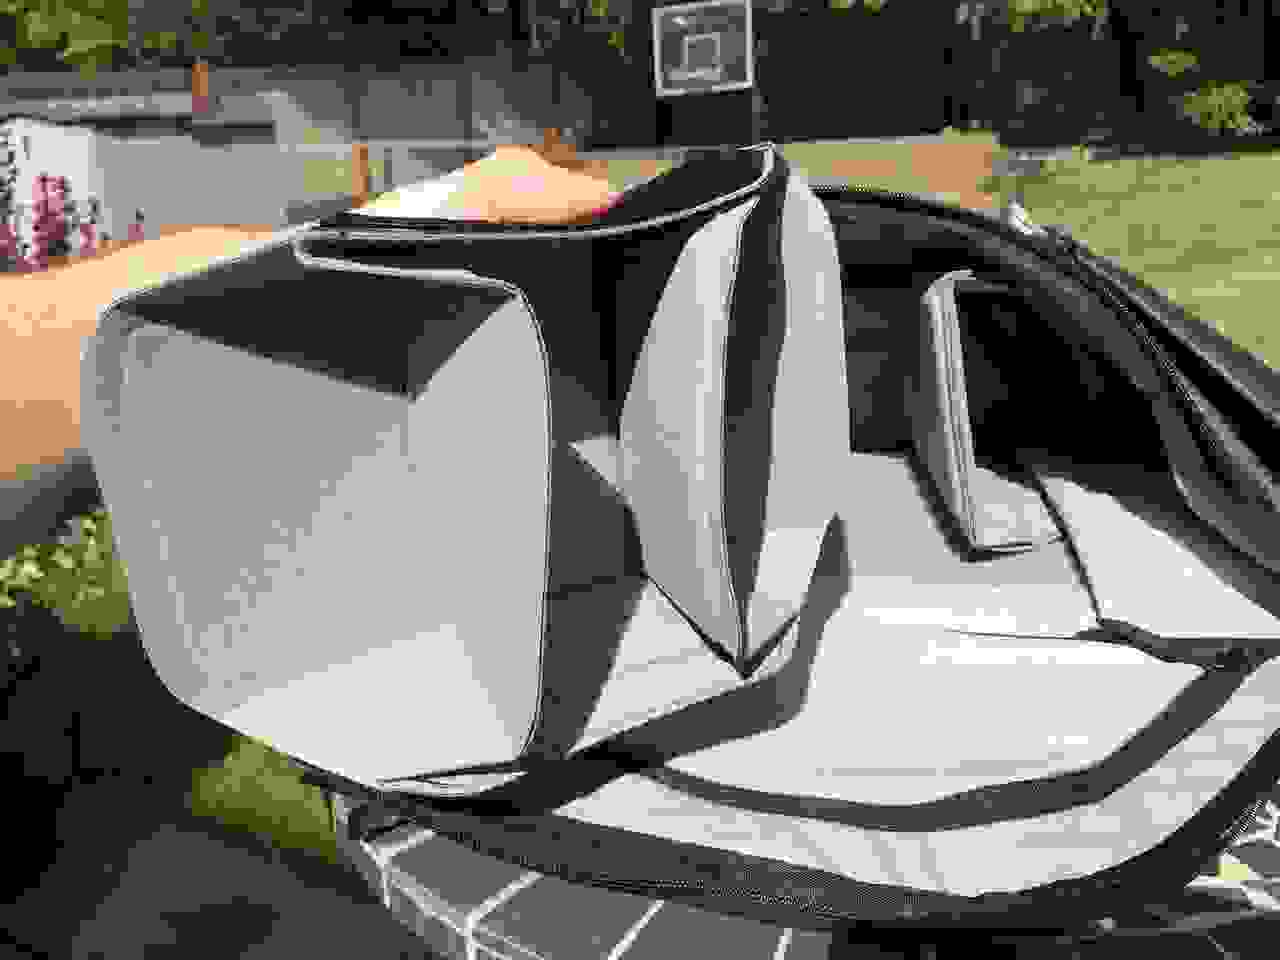
As you can see up there, those are the “Flexfold” dividers, which can velcro into any position along the inside of the pack, so you can customize the inside to suit whatever gear you need to shove in there. Those walls are all soft and velvety, too, so they’ll keep fragile gear nicely protected.
Here’s a demo of the “folding” part of it, which allows you to separate the space into multiple, cushioned compartments:
Here’s what they look like detached, so you can get a better idea of how segmented they can get:
Because they have two folding panels instead of just one, you can create three slots per divider, then stack the next divider on top and create three more. And it also means that the top divider, which forms the floor of the upper compartment accessible through the MagLatch (as you can see above), can also have these mini-compartments, if you so choose.
Just for a quick alternate arrangement suggestion, you can create a T-shaped wall, splitting the pack into three compartments; top, side, and other side. This is probably better for shoes, since they’ll fit better vertically than horizontally.
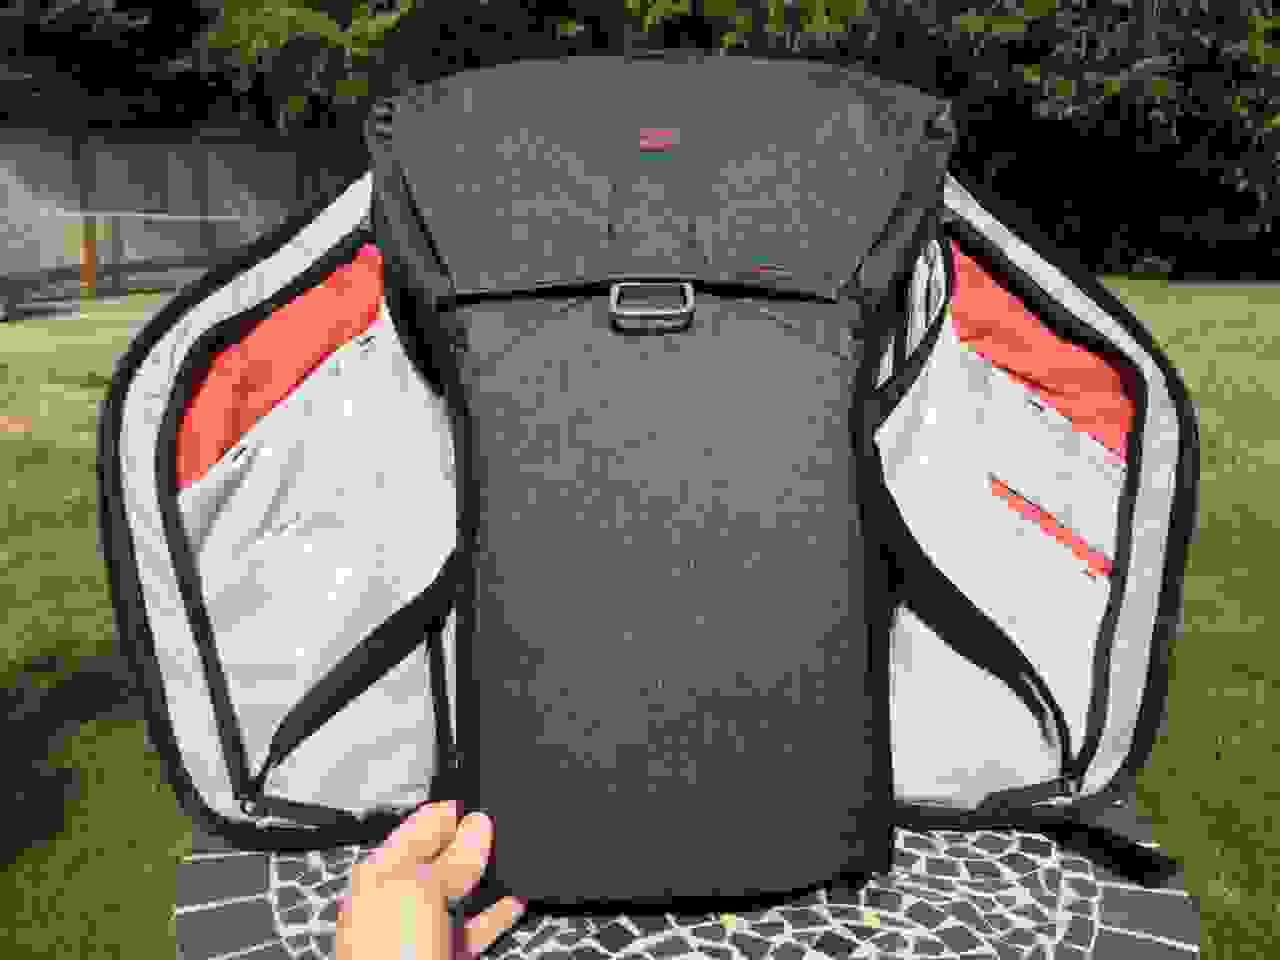
Here’s how those side walls look when they’re opened up all the way, along with the semi-hidden organizer panels arranged along each of the doors:
One side has larger slots, while the other has smaller ones. Here’s a closeup of the smaller slots, along the right-hand door (while you’re wearing it):
This is great for organization, but one thing worth mentioning here is that these slots are designed for camera equipment; in other words, they’re padded. That’s probably a good thing for anything electronic or fragile, but the fabric itself is actually pretty thick. Pens, for example, aren’t really supposed to go here. There’s no thin slot for a pen or pencil, and the pocket clip on a pen is actually quite difficult to get over the fabric itself. This means you might have to leave them in one of the wider, deeper pockets, without the clip holding it in place, so they might move around a bit. It would have been nice to have a couple dedicated pen slots somewhere, but you’ll have to make do with these, or use that small compartment up in the laptop sleeve area instead, which is easier to access anyway (because it requires one zipper instead of two).
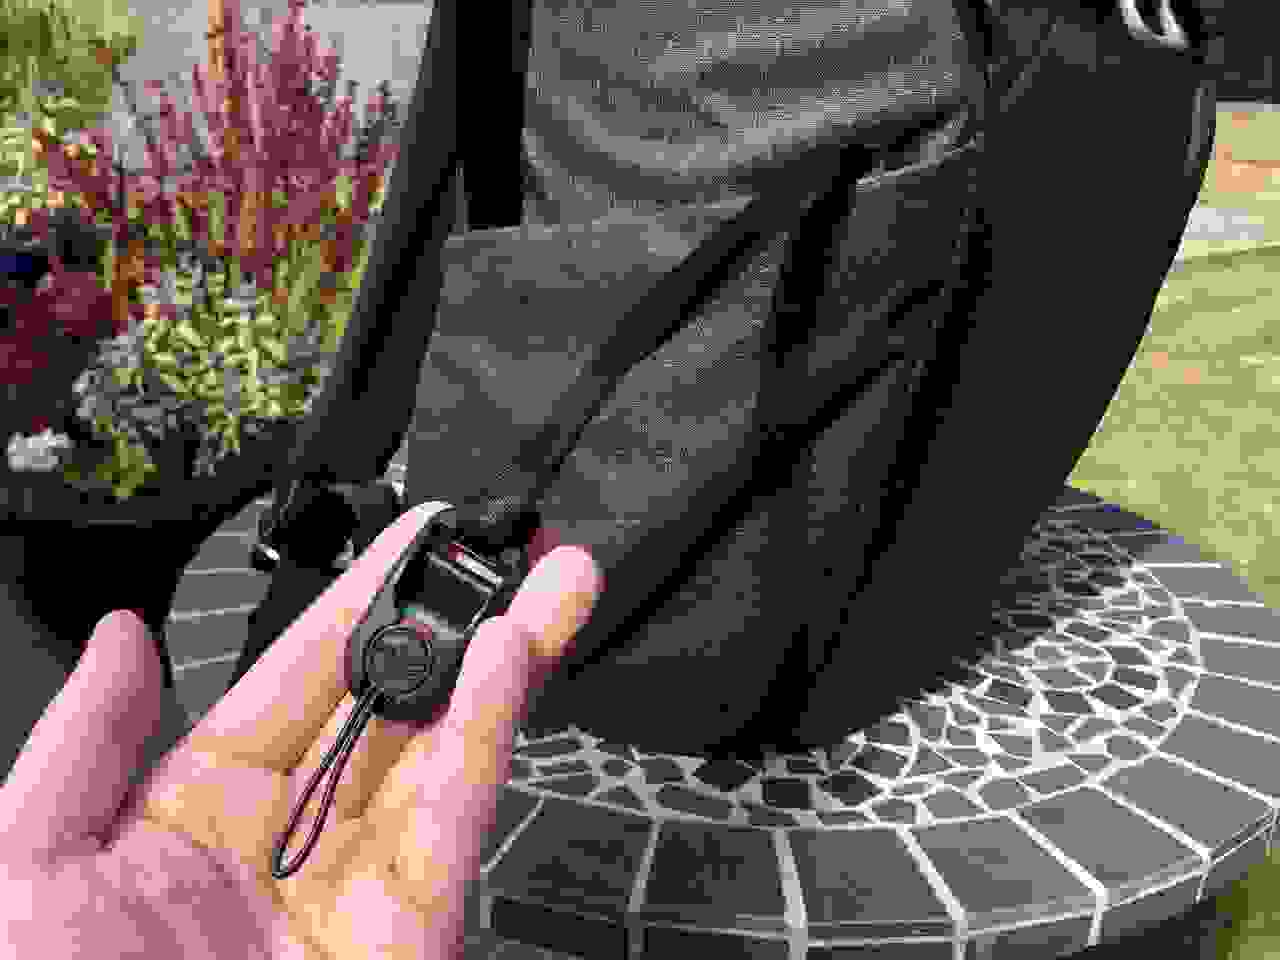
Another major attraction is how the side zips are designed to be accessible, even while wearing the pack. Just grab that little loop of fabric by the shoulder strap buckle:
And you can loosen the shoulder strap, then swing the pack around to the front:
Then you open up the side zip and you get access to everything inside:
It’s all rather beautiful. This is supposed to be a backpack with messenger-bag-like access, so you can flip the pack around and swap out a lens, for example, and it works quite well. Remember those rotating discs that hold the shoulder straps in place? Well, that’s part of why they’re here. They rotate to make this whole operation a little smoother.
You do need to loosen the shoulder strap though, or else the pack will be too high, and you won’t be able to open things up. So it’s not quite as easy as a messenger bag, but it’s just a quick loosening, then a quick re-tightening of the shoulder strap to get it adjusted back to the way it was before.
What if I need to lash something to the outside?
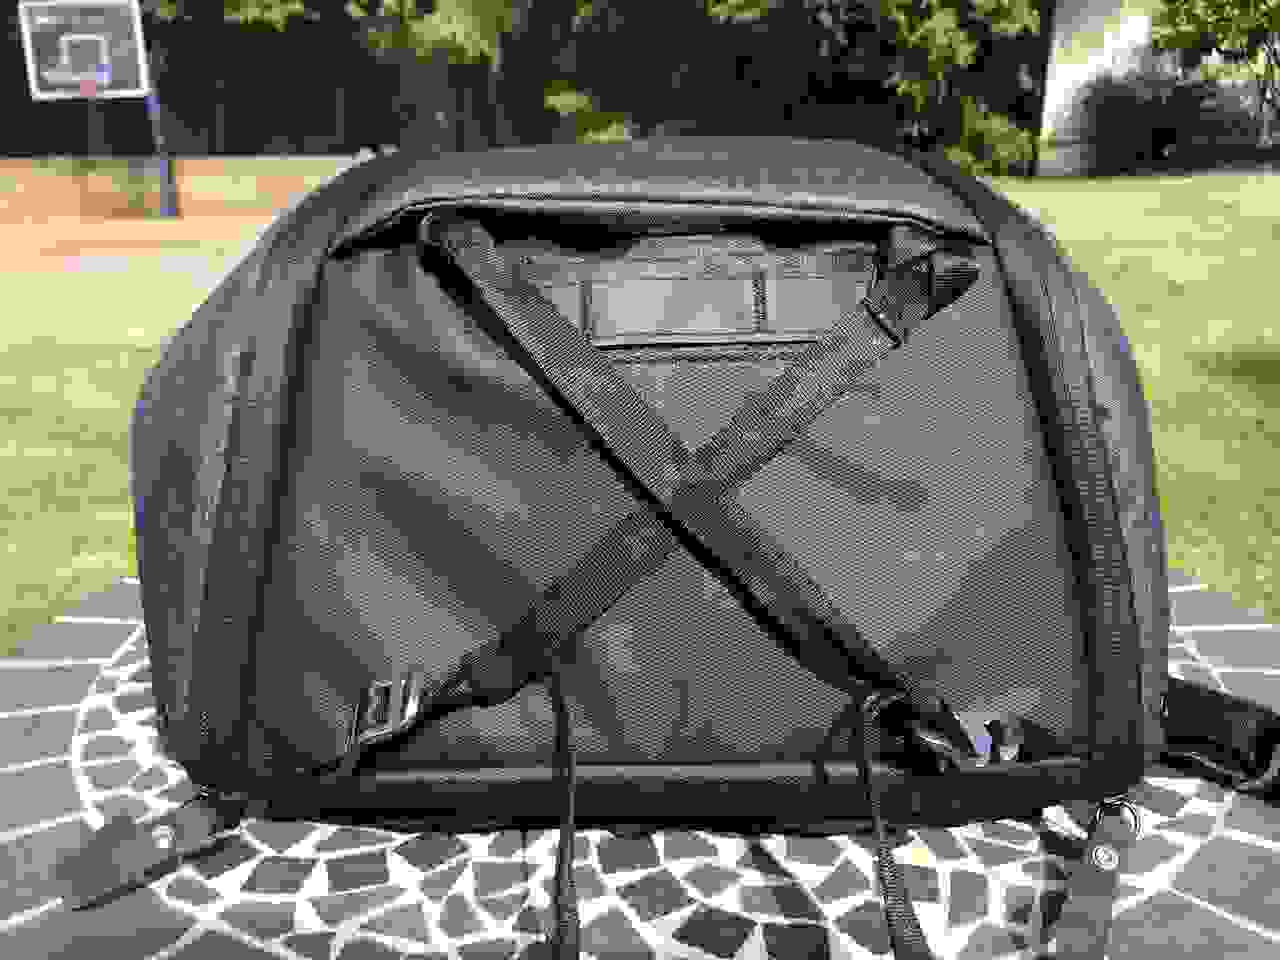
In addition to the expanding top, expanding side pockets, and side lash straps, this pack also comes with a pair of removable lash straps hiding in a magnetic pocket down near the bottom:
They clip in along the bottom, so you can carry a yoga mat, sleeping bag, or whatever else is too big for the pack.
(Notice there’s a bike light attachment right there, too.)
Alternatively, you can hook them into attachment points along the front, so you can carry things up here instead:
I suppose you could lash things along the front and the bottom, though it would require a second set of those straps. But between the expanding top, expanding sides, dual side lash straps, plus these, you can store a whole lot of gear both inside and outside the pack, making it rather versatile in its carrying capacity, despite having a relatively fixed size.
Any more accessories?
Yes. A key clip, which detaches from its own lash strap so you can keep the smaller part in a pocket if need be:
What if I’m paranoid?
Apparently this was a last-minute addition during the Kickstarter, but I’m glad they came up with this halfway through production instead of neglecting it altogether, or having to start all over to add this feature. The zippers are semi-lockable.
You can detach the end of that rubber loop, and hook it into a small fabric loop sewn into the pack:
Once it’s looped in there, passersby will have a much harder time with a hit-and-run attempt to unzip the pack and grab whatever they can before they run away.
It’s an extremely easy last-minute modification that allows some peace of mind in crowded areas. It’s not perfect protection, but nothing ever is anyway. The zippers themselves don’t “lock,” in the sense that you can’t add a literal lock to them, but it wouldn’t work too well on this design anyway. Since the side panels have dual zipper pulls (and they’re on opposite ends when closed), you’d need a lock on each zipper pull to lock it shut, or you’d have to remove one of those zipper pulls altogether…but even if you were to do that, you’d need a separate lock for the MagLatch anyway. So just think of this as a crowd-control protection system, rather than something you can leave unattended in a hotel room for several hours. This is a daypack, after all. You’re supposed to take it with you.
I would have liked the top zip to have this feature, though. Granted, they probably won’t try to pull something out of the top slot if you’re wearing it and walking around with it (and the laptop fits quite snugly in there, so it doesn’t just slip out all that easily), but still, the laptop compartment could have one of these too, and it would work just fine.
Anything else worth mentioning?
Well, yes. This is the last of the minor problems I ran into with this pack. This is going to be a little tricky to show you, but the lower back panel cushioning creates an odd “shelf” problem.
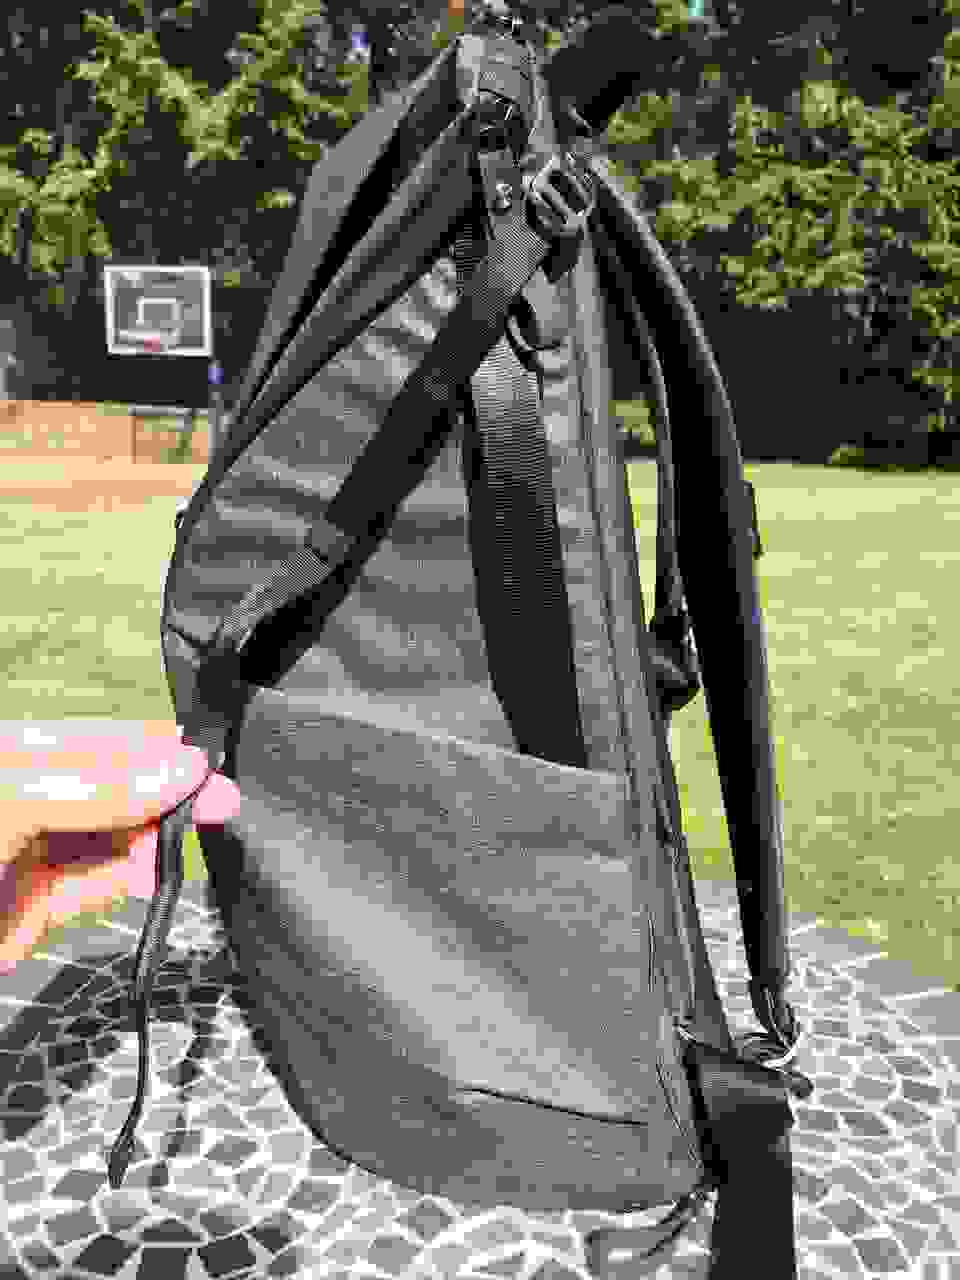
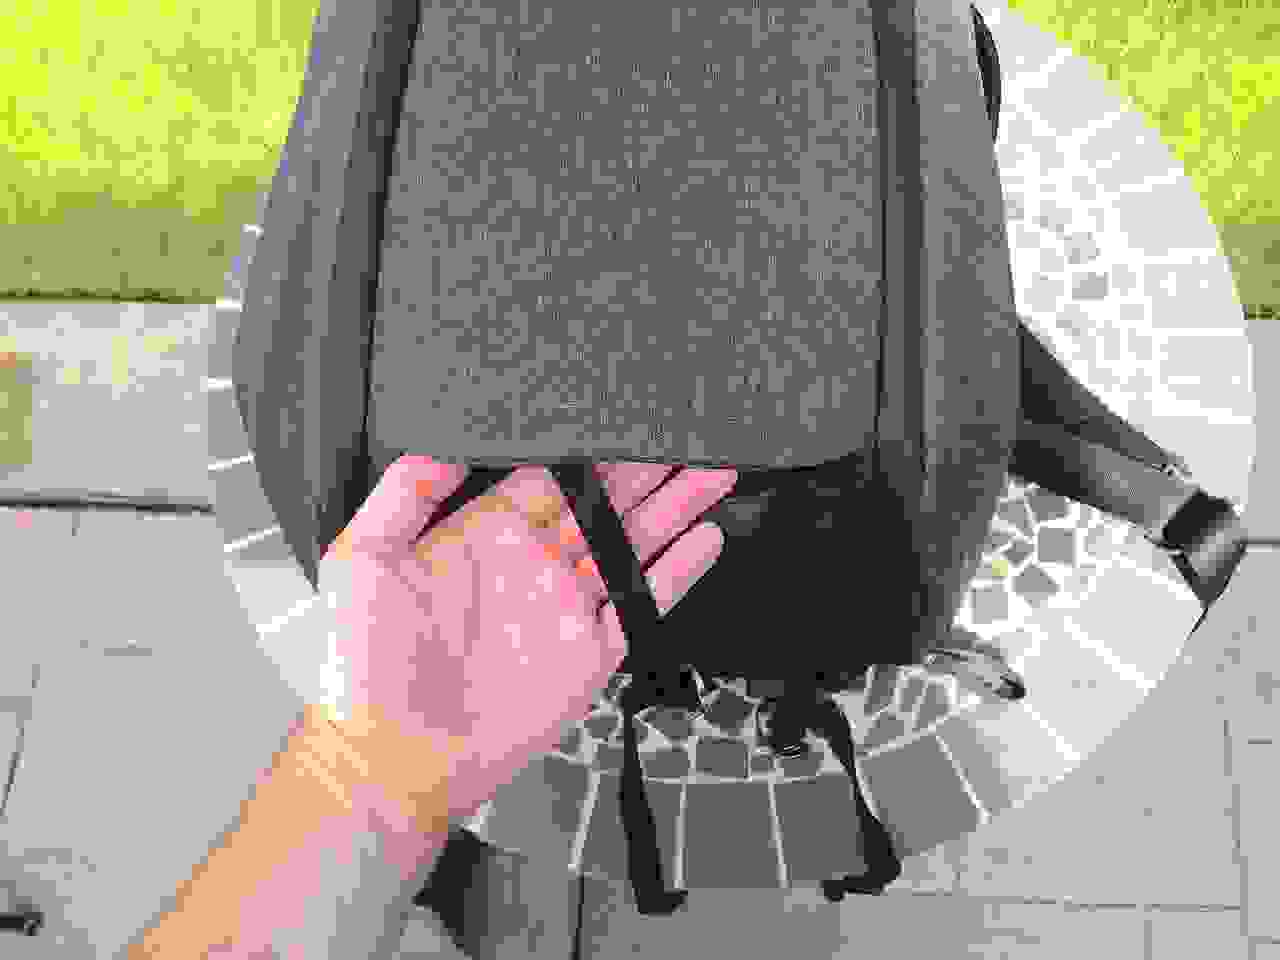
Here’s the lower back cushioning:
Now here it is again, directly from the side. Notice how the cushioned part extends outward from the pack by about half an inch; this creates a little “lip” right at the lower back area, which can then sit directly on top of a belt, or even thick pants.
It can sometimes get stuck there, sitting on top of a thick belt, and in some cases might even lift the shoulder straps up off your shoulders, and then the pack will lean backward. If you wear the pack either higher or lower, then it’ll be fine, but if this cushioned part just tapered off, this simply wouldn’t happen. It would definitely be a welcome change if they ever update the design.
So what’s the downside?
Price, weight, and bulk. The price should be pretty self-explanatory. There’s a great deal of engineering going on here.
The weight is partly inevitable due to the extensive list of features, as well as the thick, burly fabric, metal hardware, and cushioned walls; this is not a light pack, and certainly not for its size. It’s meant to keep camera gear protected, which requires a much more structured, cushioned design than a simple fabric bag.
Because of the structure, it’s also quite rigid. You may have noticed there are no compression straps along the sides. That’s because the bag cannot compress. It’s that solid. This is great for protecting camera gear, but you can’t cinch it up to make it any smaller. It’s always going to be full size, except for the top lid; if you’re just carrying around a laptop and a rain jacket, it’s going to feel oddly large, especially compared to minimal, more malleable backpacks.
I’ll also reiterate that I think its stated capacity of 30 liters might be a little generous…and with the top flap down it’s just 18 liters, so it might be a little more snug than you might expect.
Peak Design Everyday Backpack final thoughts!
As you can probably tell, there’s a lot about this pack that you’re not likely to find anywhere else. The rotating shoulder straps guarantee comfort across a wide range of body types. The no-adjustment-needed top access flap allows for quick access and expansion without any trouble. The side zips and Flexfold dividers allow for easy organization and access even while you’re wearing the pack. The lash straps along each side and the bottom allow for a great deal of packing versatility. All of these features really set it apart from just about any other pack I’ve found, and the other semi-standard features, such as the side pockets, waist and sternum straps, organizer panels, and laptop and tablet sleeve make it a great all-around choice for the only backpack you’re likely to need, ever.
I do, however, think it is somewhat more specialized than its versatile design features might suggest; because of the rigid, padded structure, it’s heavier and bulkier than most other packs of this size. This is a camera backpack, after all––and I think professional or hobbyist photographers are definitely going to get the most value out of it. The Flexfold dividers, side zips, and easy access while standing were all built to allow photographers to swap out a lens, zip everything back up, and not miss a beat, combining protective cushioning with unparalleled access. If you’re planning to carry other types of objects that are equally fragile, you’ll probably get a lot of value out of it, too. Electronic equipment, for example, would make a lot of sense. But if you’re just going to carry around softer items, like clothing, maybe a book or two, and a laptop, you won’t really be able to extract as much joy out of using it as the others probably will. It would be like driving a truck to pick up the groceries. It’ll work, sure, but it’s more performance than you need, and it has a price to match.
Still, there’s a lot of really impressive engineering in here, and it’s so well-thought-out that I wanted to give it a try anyway, even though I’m not a real photographer. It has a lot of game-changing design features that plenty of people out there will absolutely adore, and the super-tough fabric, rigid structure, metal hardware, and other design touches give me the impression that it’ll outlast many of its peers. I would make a few minor changes––the opening up at the top could be more obscured from rain; the “shelf” cushion near the lower back could be tapered to fit better; I’d like a pen slot or two; and I’d give it more expandable side pockets. But there’s certainly no doubt that it deserves all the attention it’s gotten, and the smashing success on the Kickstarter campaign that has made it so famous. If you’re a photographer and you want a backpack, I have a hard time imagining you’d ever want anything else.
Check it out at Peak Design, though it’s also available through REI, so be sure to check there, too.











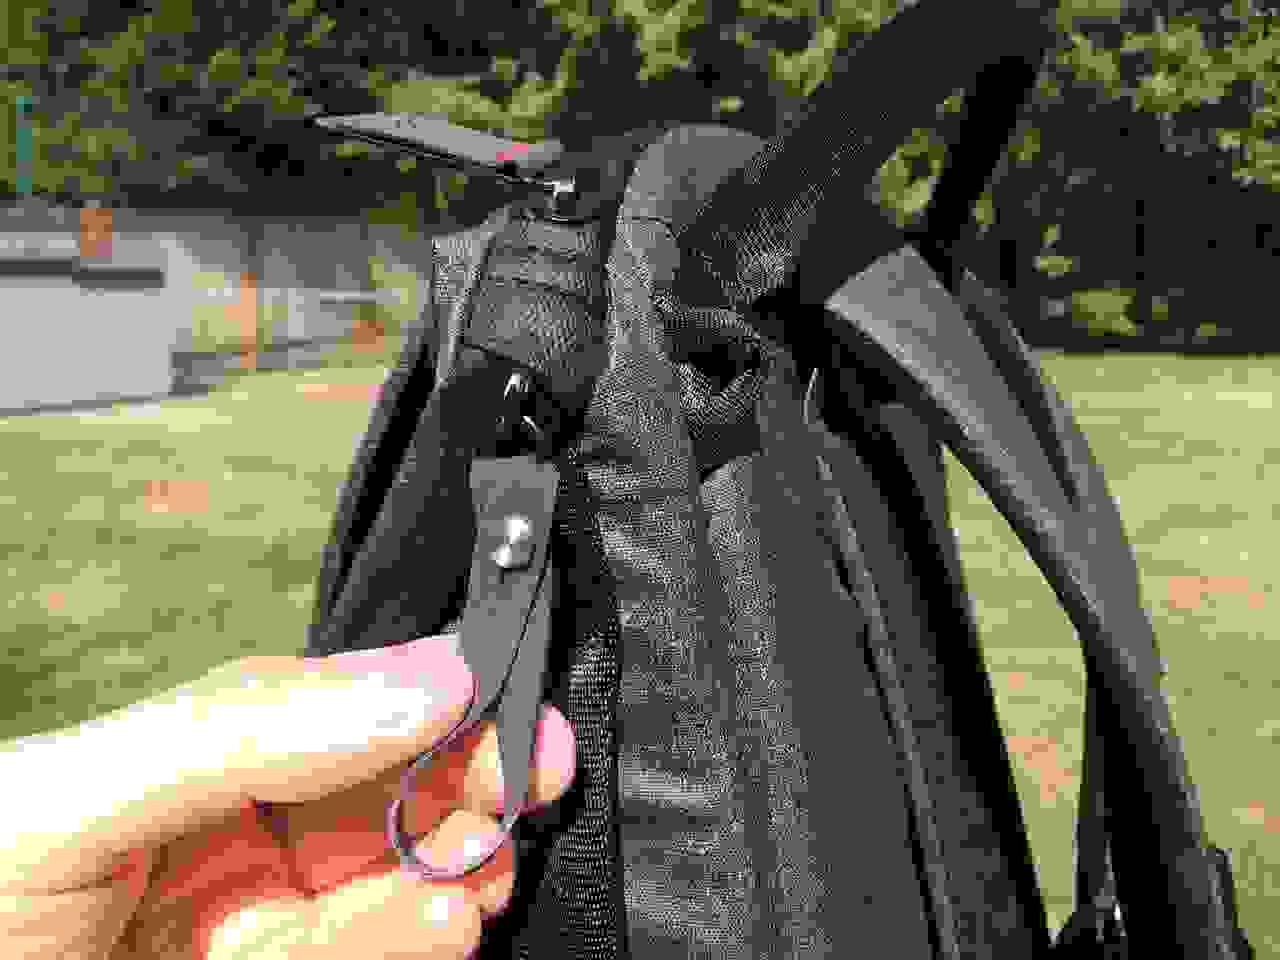
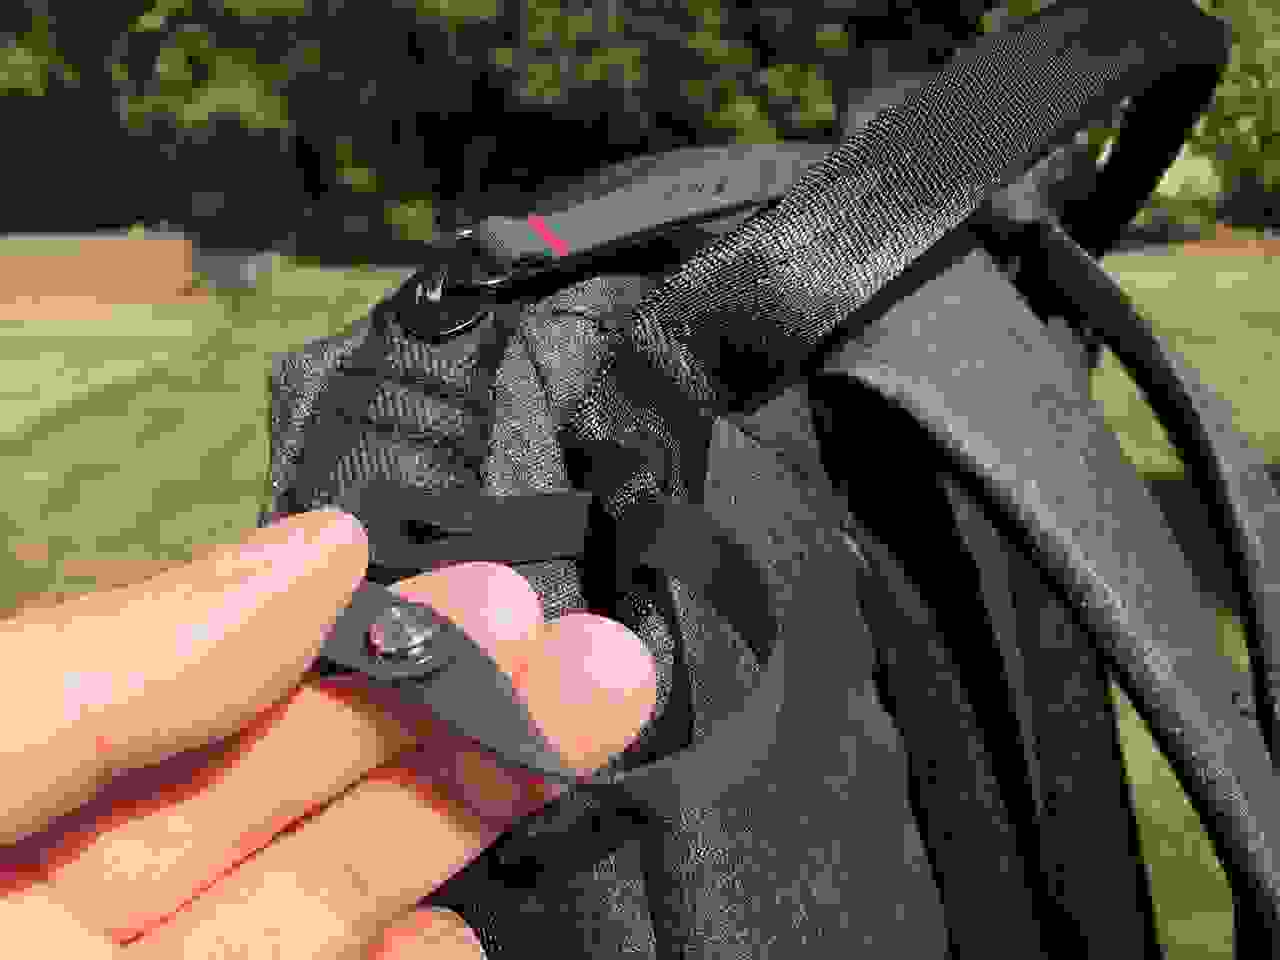

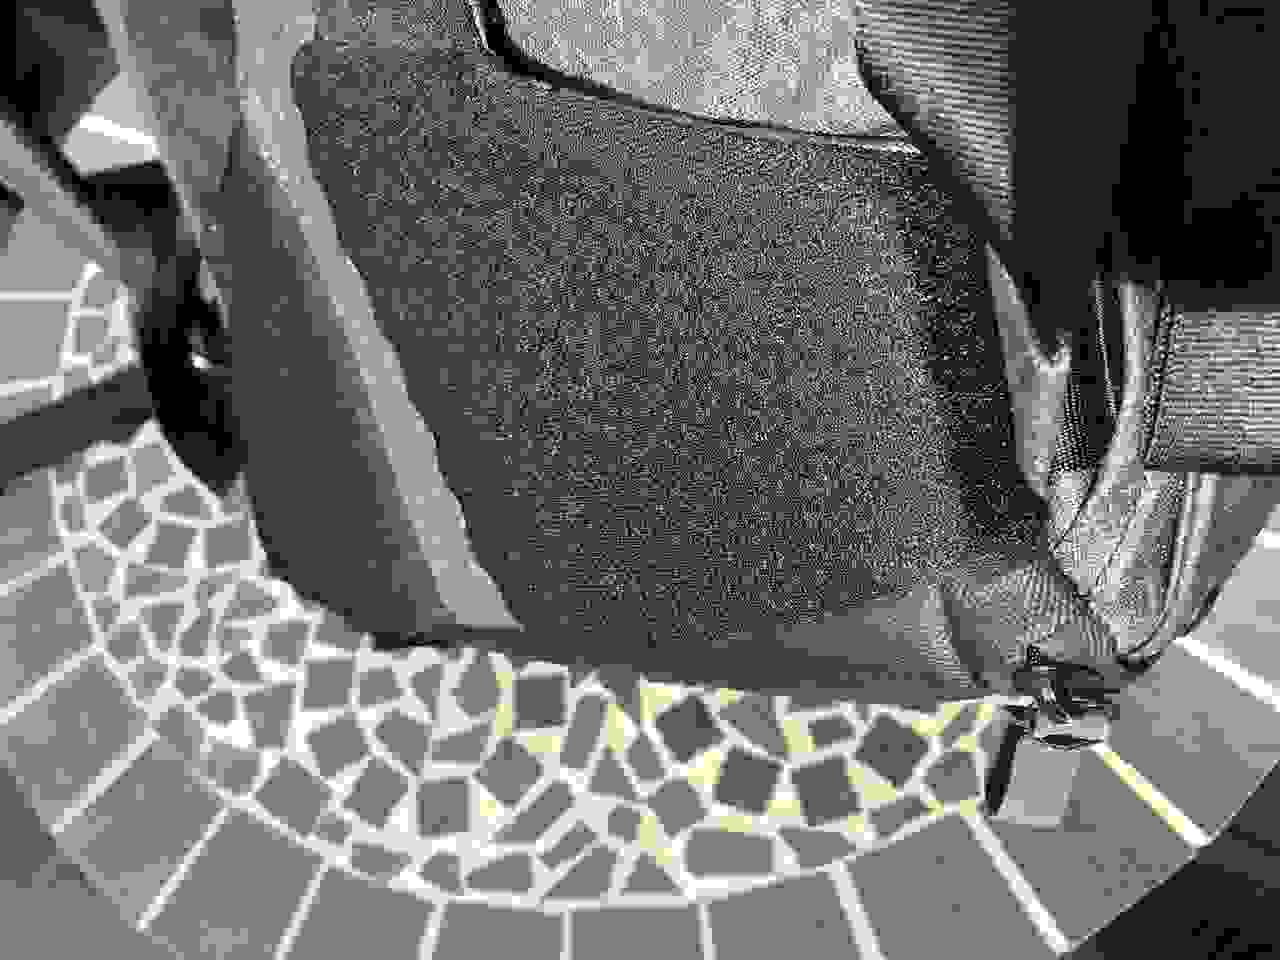
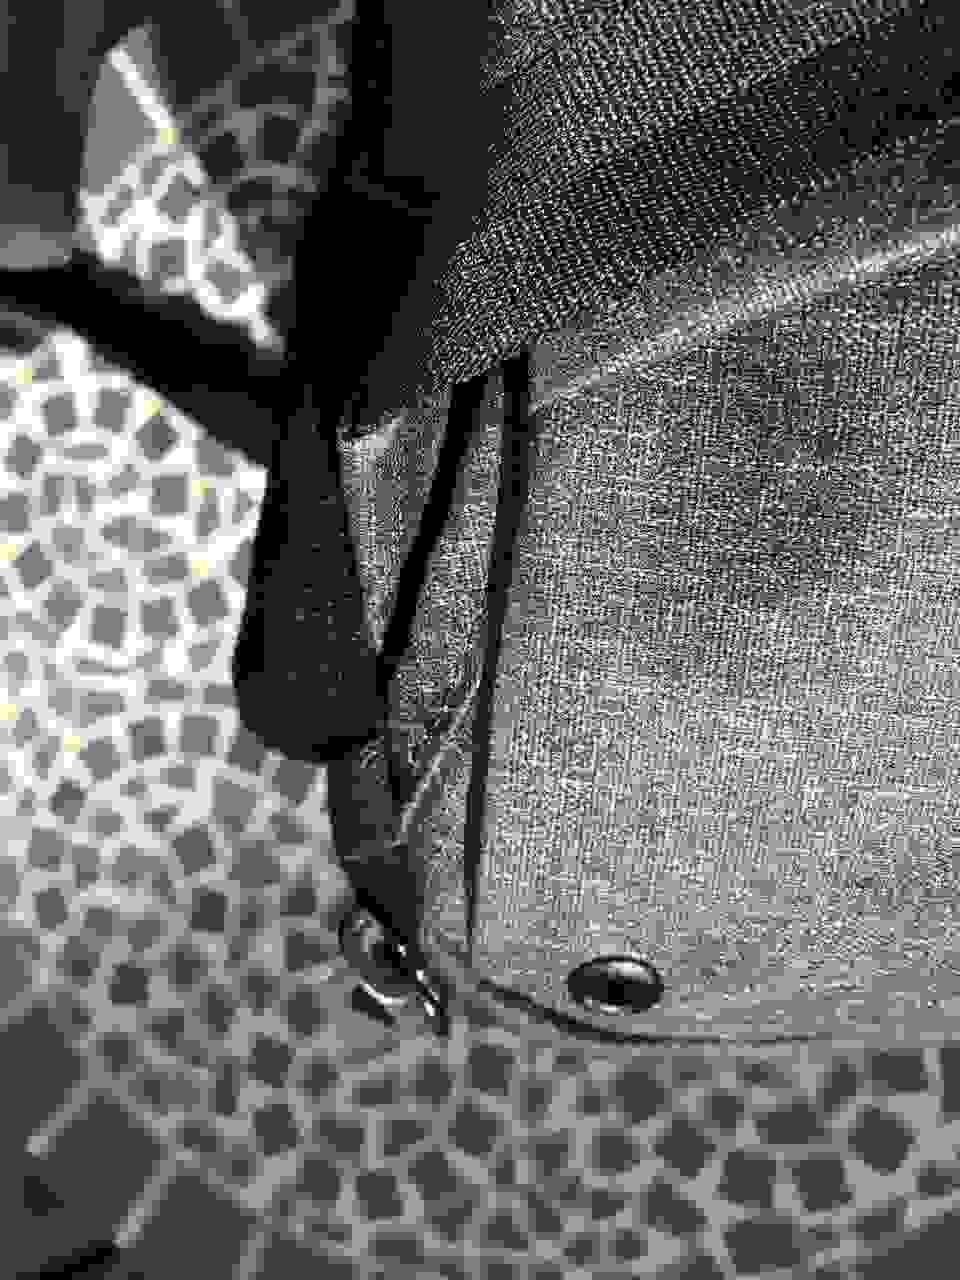



For “locking” the top zipper, I pass the loop from the right side panel through the hole in the top zipper rather than using the attached fabric loop. It’s a little awkward getting it through the hole, but works well to hold both zippers closed.
Yeah, that would work as a good-enough solution if they don’t update the design.
Great Review as always! I was looking at this pack and the Tom Bihn Synapse. I always carry a Bridge Camera (think DSLR with a 18-35mm lens) on my trips and want an option to carry a water bottle. Up to this point I have been using a Case Logic messenger bag, but it is starting to deteriorate (it lasted forever and for $40 it was a bargain, sadly they don’t make them anymore). Is this or the Tom Bihn or another messenger bag a better fit for my needs?
The Synapse is appealing because I could use it as my only bag for most trips (thanks in large part to your advice on packing and gear!), but then I would want to also buy a padded sleeve for the camera.
Thanks for the help!
The more of a photographer you are, the more sense it makes to go with Peak Design. It’s specialized for the purpose, whereas the Tom Bihn is more of a regular backpack, but that’s what I like about it. It’s also really light, so I ended up going back to it, just because on a regular day I’m not carrying much of anything, and none of it is fragile.
Can you PLEASE review the Nomatic Travel Backpack (the new, smaller one) and the Nomatic everyday backpack?
I definitely like the new ones more than the original, but they’re pretty heavy for their size, and a little too small for the average person. The “big” one is still only 30 liters even when it’s expanded, and since the expansion is along depth instead of height, it’s not going to be as comfortable to carry as a taller, slimmer pack. The overall design isn’t so bad, but those are some of the problems I see, and they just look a little clunky to me.
Great review! Any plans to do a review of the Boundary Prima System pack?
That’s a new one for me, although it does look pretty neat. Black Ember has another modular design that’s pretty neat, although I might take elements of both their designs and combine them.
Thanks for the detailed review and for providing so much information about travel. I’ve really appreciated your site, especially your posts on travel pants and clothing.
Do you have any plans to review the Peak Design Travel Backpack? The range of capacities it advertises (30, 35, or 45L) based on adjusting the pack seems quite interesting from a versatility standpoint. I’d be quite interested in your thoughts and analysis of the bag from a travel perspective rather than a photography one, which seems to be the focus of a number of reviews I’ve seen.
I like a lot of what they’re doing, although it’s super heavy, and very expensive. Usually their products are built for photographers, so the price includes some good features for those users (such as the semi-rigid, padded walls, to protect the equipment), but it’s less of a value proposition for everyone else. Still, it’s good stuff, extremely well designed, stylish, and durable. If you’re not worried about the price or weight, I expect it’ll work quite nicely.